- Click the "Apple" icon
- Click "System Settings", "General", and then "Device Management"
- Select the "University of Washington" or "UW eduroam (EAP-TLS)" and click "-" (bottom left), then "Remove"
Click on your operating system below to view instructions for removing eduroam or setting up eduroam on your device via our onboarding utility. You will need a working Internet connection in order to complete the eduroam setup instructions. The instructions are general and may change from time to time. First-time eduroam users can navigate straight to the Eduroam Onboarding Guides. If you have used eduroam on your device in the past, you should first remove it via the Eduroam Profile Removal Guides, then go to the Eduroam Onboarding Guides. If you require further assistance, please contact UW-IT Help.
Eduroam Profile Removal Guides
- Click the "Apple" icon
- Click "System Settings" and then "Privacy and Security"
- Click "Profiles"
- Select the "University of Washington" or "UW eduroam (EAP-TLS)" Device Profile and click "-" (bottom left) then "Remove"
- Click the "Apple" icon
- Click "System Settings" and then "Privacy and Security"
- Click "Profiles"
- Select the "University of Washington" or "UW eduroam (EAP-TLS)" Device Profile and click "-" (bottom left) then "Remove"
- Right-click the "Wi-Fi" icon
- Click "Network & internet"
- Click "Wi-Fi"
- Click "Manage known networks"
- Search for "eduroam" and click "Forget"
- Right-click the "Wi-Fi" icon
- Click "Open Network & Internet settings"
- Click "Wi-Fi" on the left
- Click "Manage known networks"
- Select the "eduroam" Wi-Fi network and click "Forget"
- Open "Settings" -> "General" -> "VPN & Device Management"
- Tap the "University of Washington" or "UW eduroam (EAP-TLS)" Configuration Profile and then tap Remove Profile
- Enter your PIN
- Tap "Delete"
- Open the "Applications" window
- Tap "Settings"
- Tap "Network & internet"
- Tap "Internet"
- Tap the gear icon next to "eduroam" then tap Forget
- Open the "Dash"
- Click "Settings"
- Click "Wi-Fi"
- Click the gear icon next to "eduroam"
- Click "Forget Connection"
Eduroam Onboarding Guides
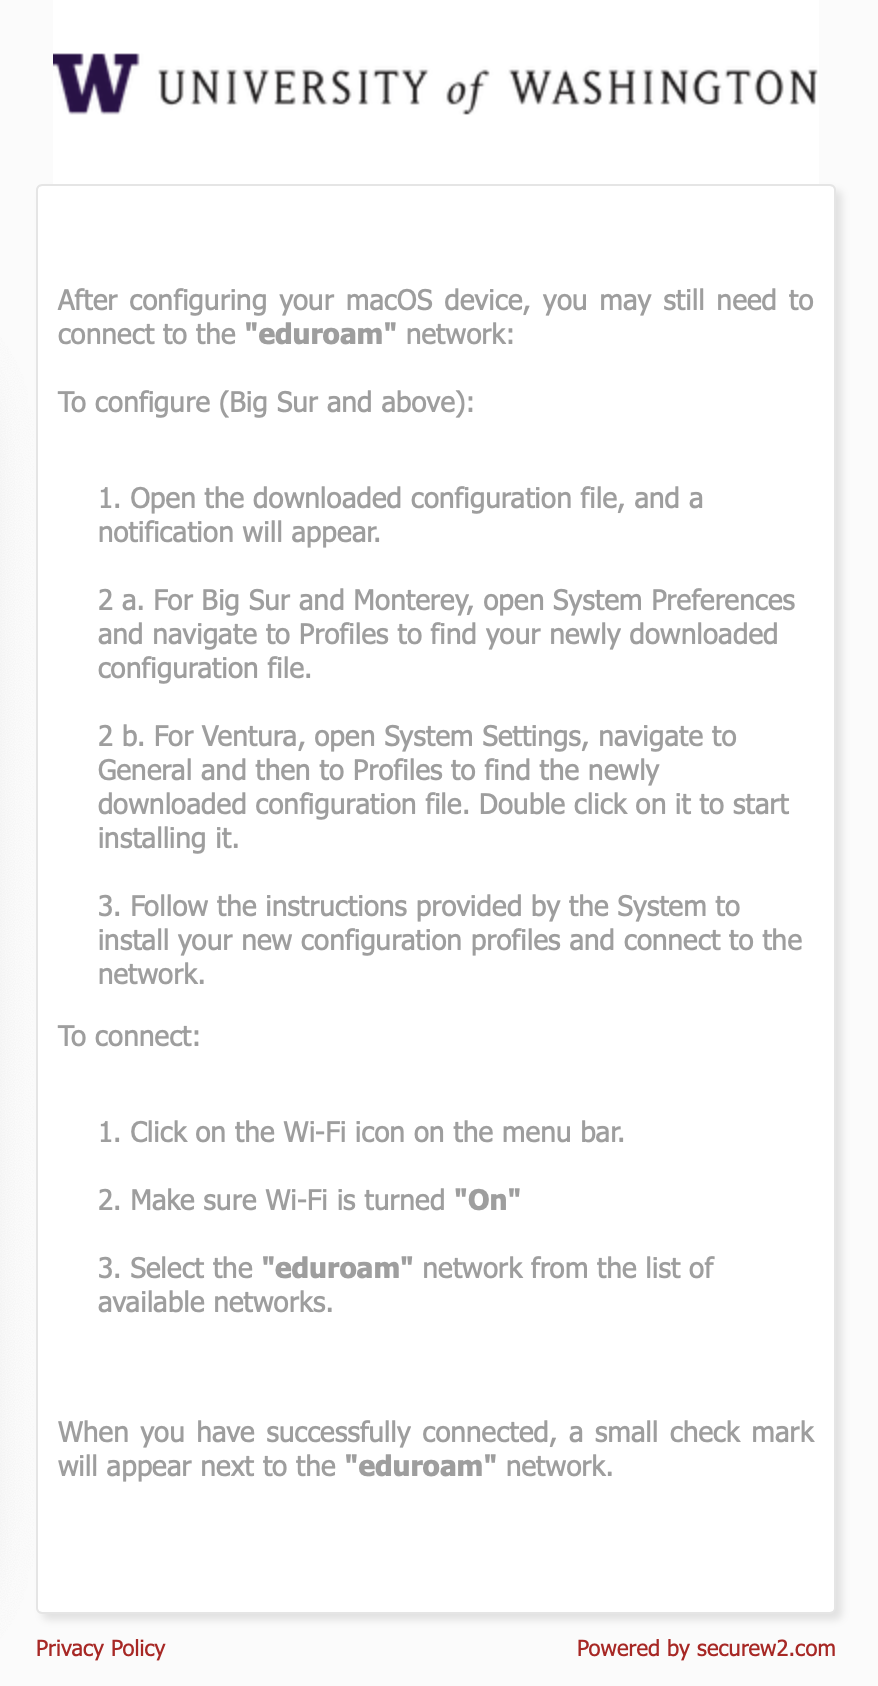
- Open your web browser and navigate to http://onboard.wifi.uw.edu.
- Click the "Sign In" button to begin the onboard software download process.
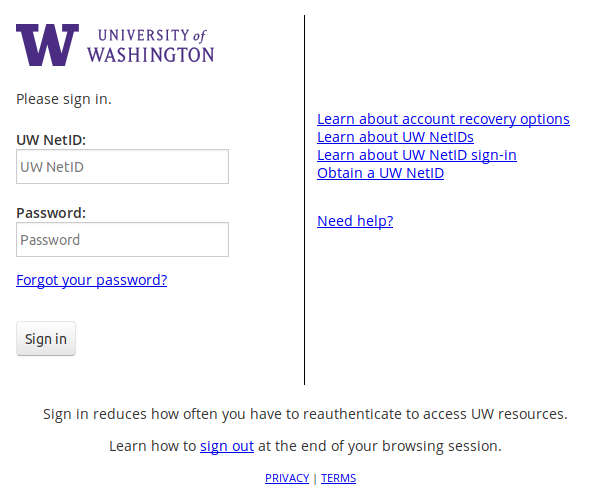
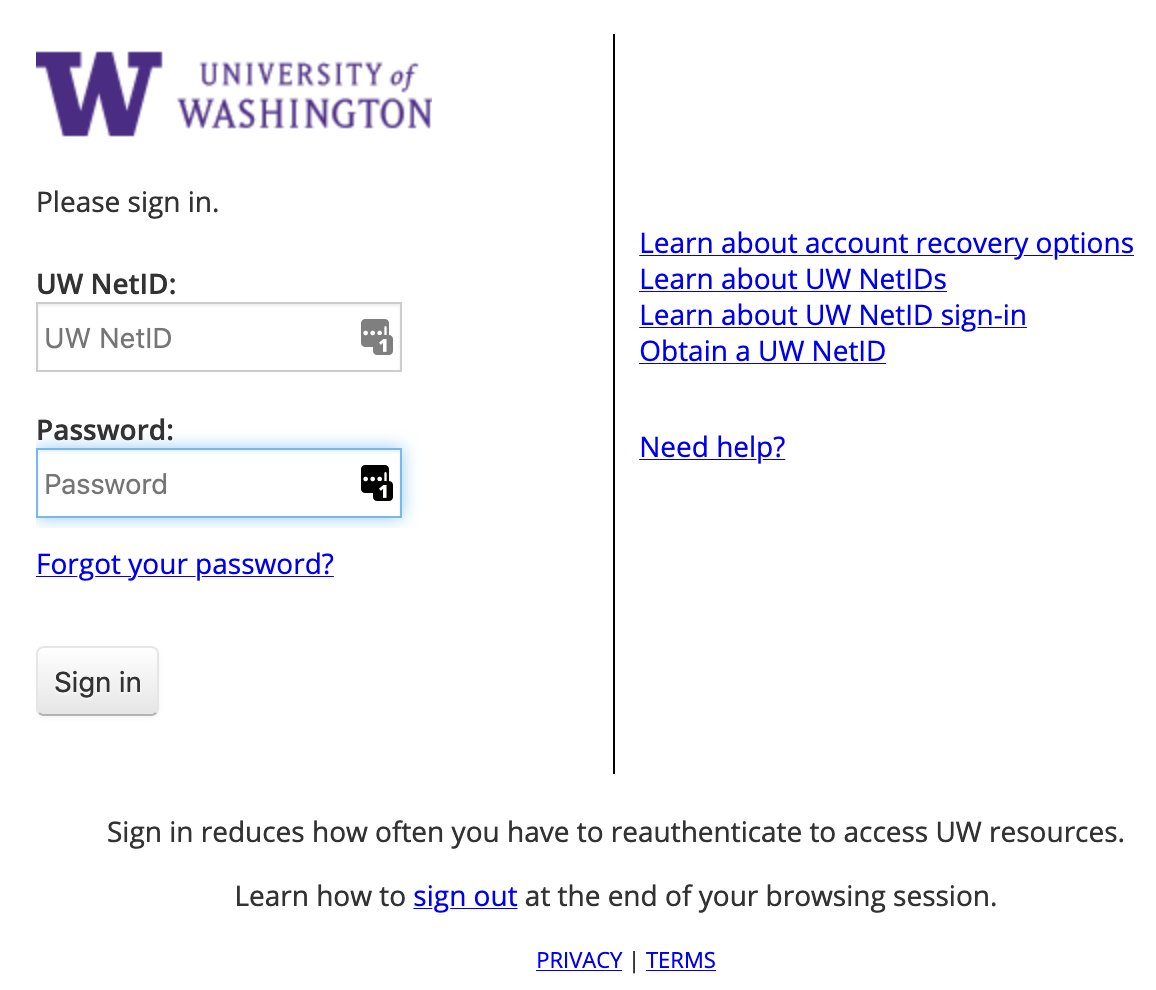
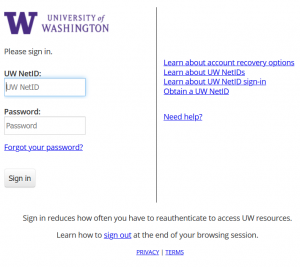
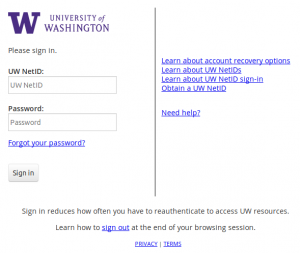
- Enter your UW NetID and password, then press "Sign in".

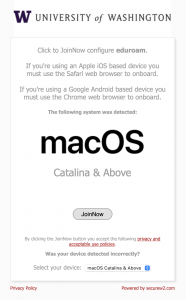
- Click the "JoinNow" button to begin the onboard software download.
- Open the download location and double-click the file SecureW2.mobileconfig.
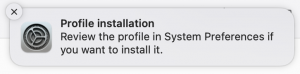
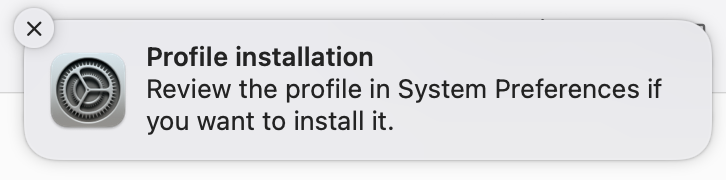
- You may receive a pop-up asking you to review and install the profile in System Settings.
- Click the Apple icon in the top left corner of the screen, go to "System Settings", click on General, and then select "Device Management".
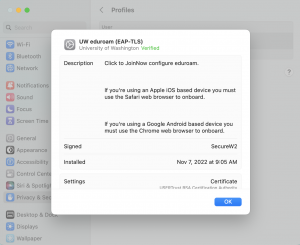
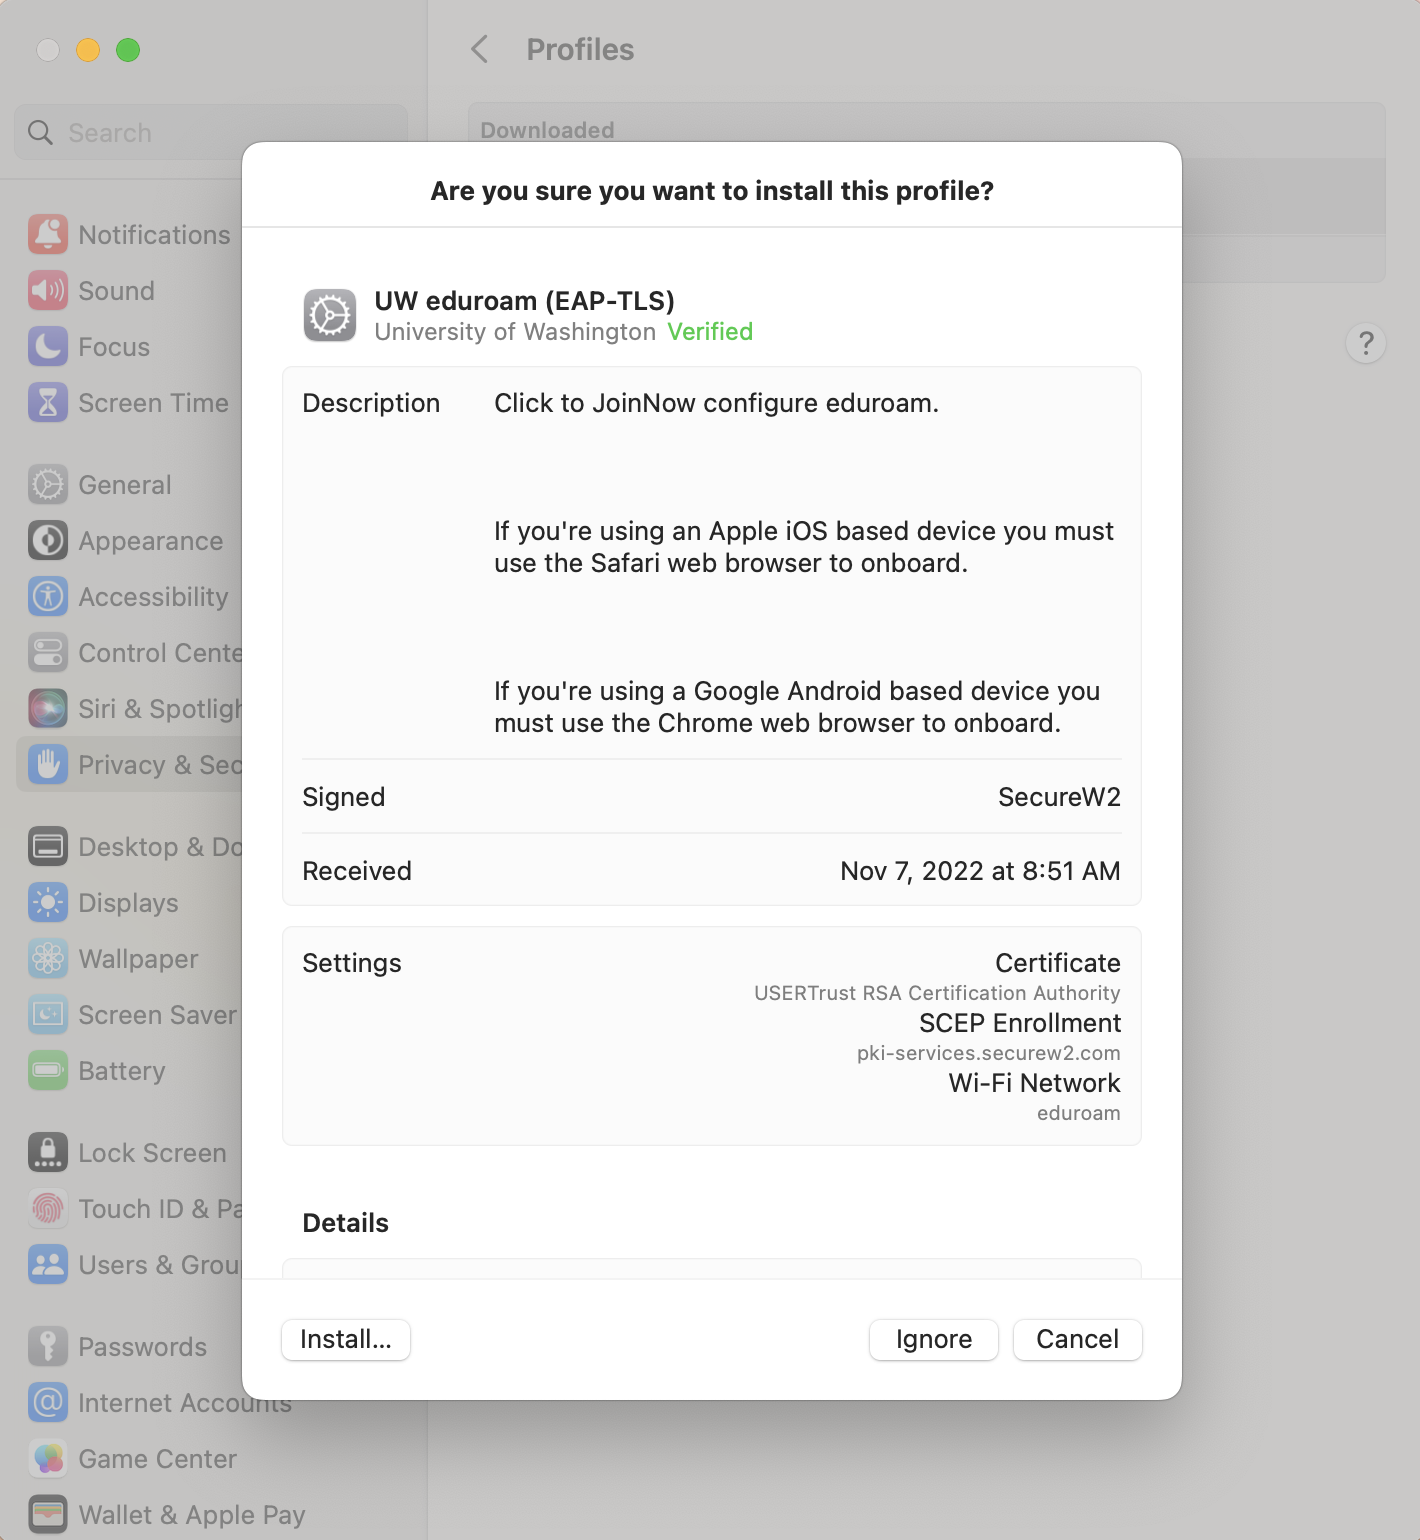
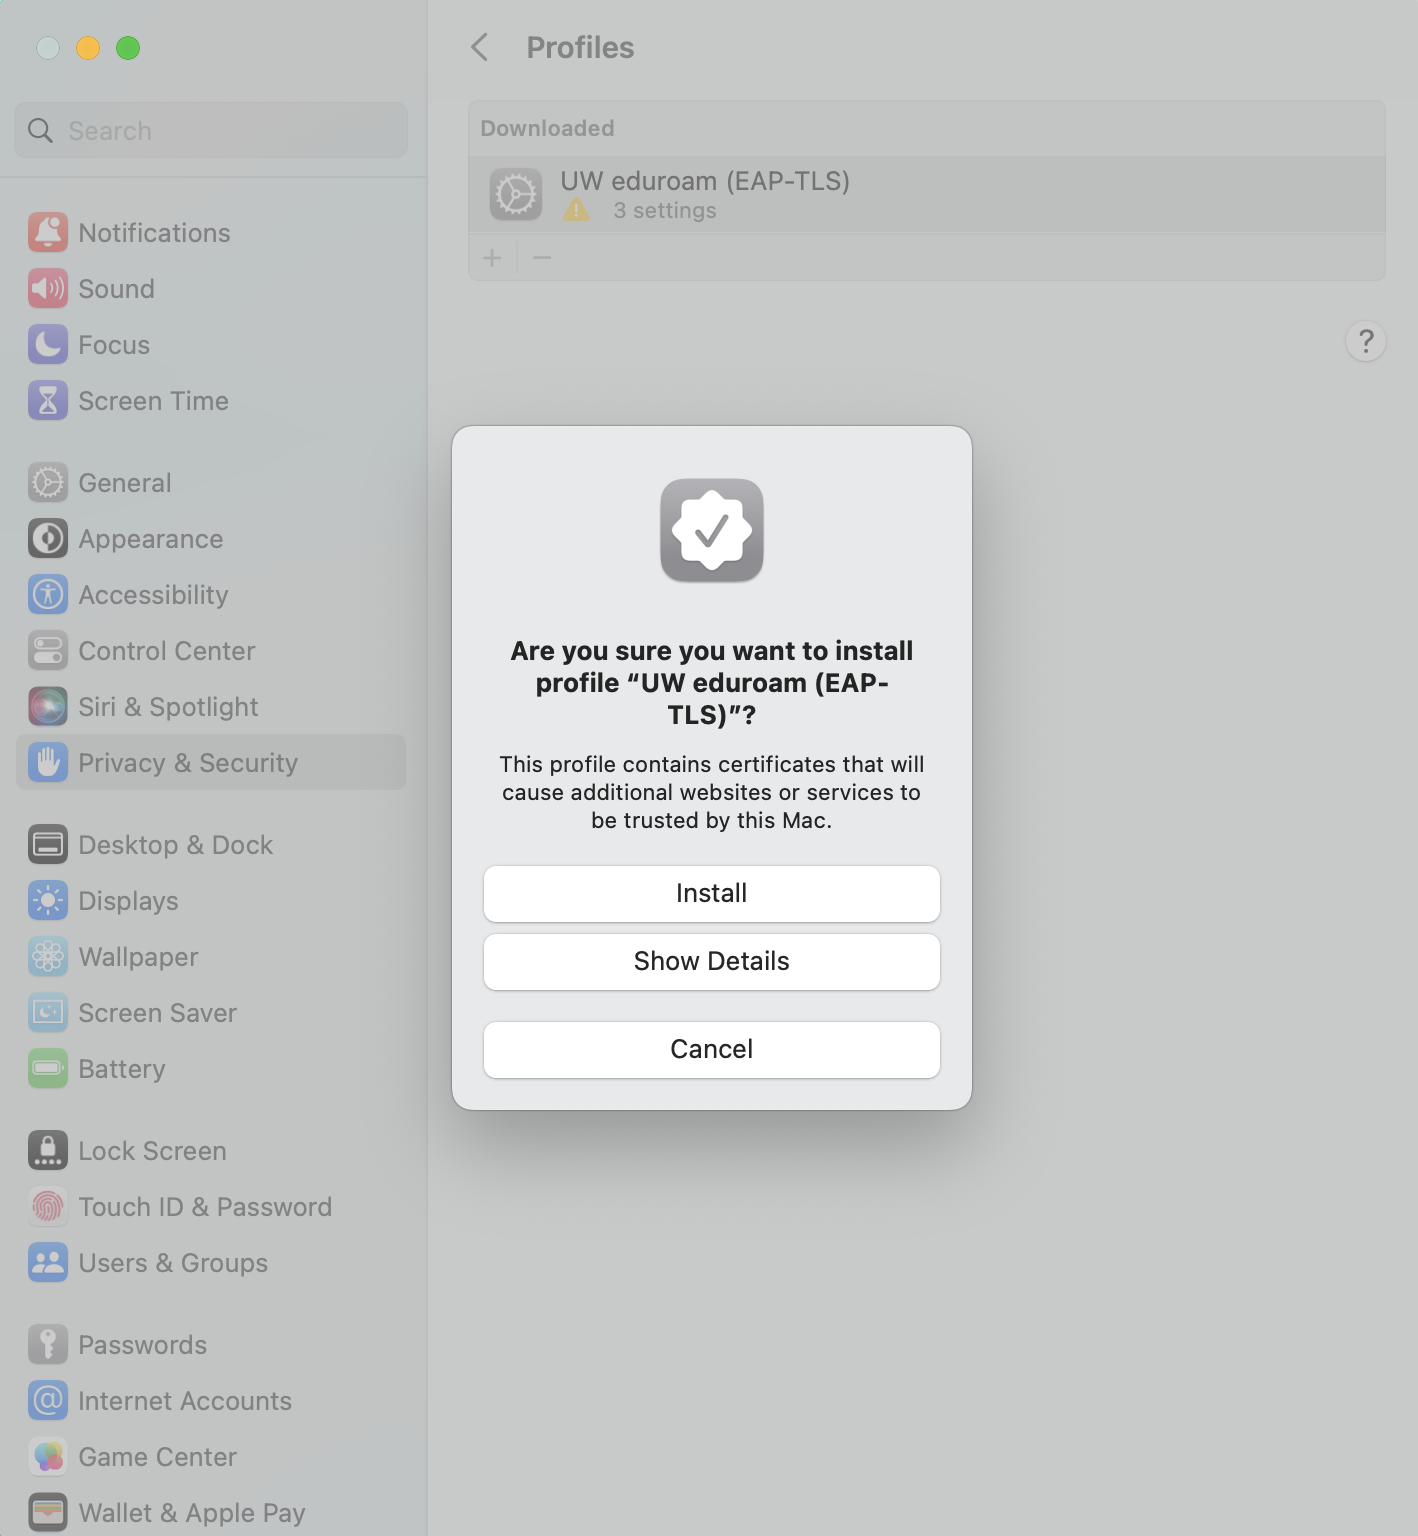
- Double click the file "UW eduroam (EAP-TLS)" under Profiles and click on "Install".
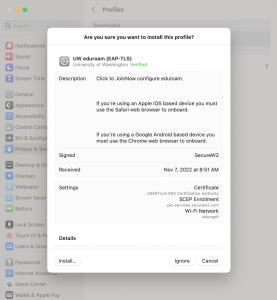
- Select "Install".
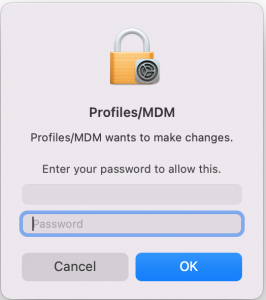
- Use your Touch ID sensor or click "Use Password..." to enter your macOS password.
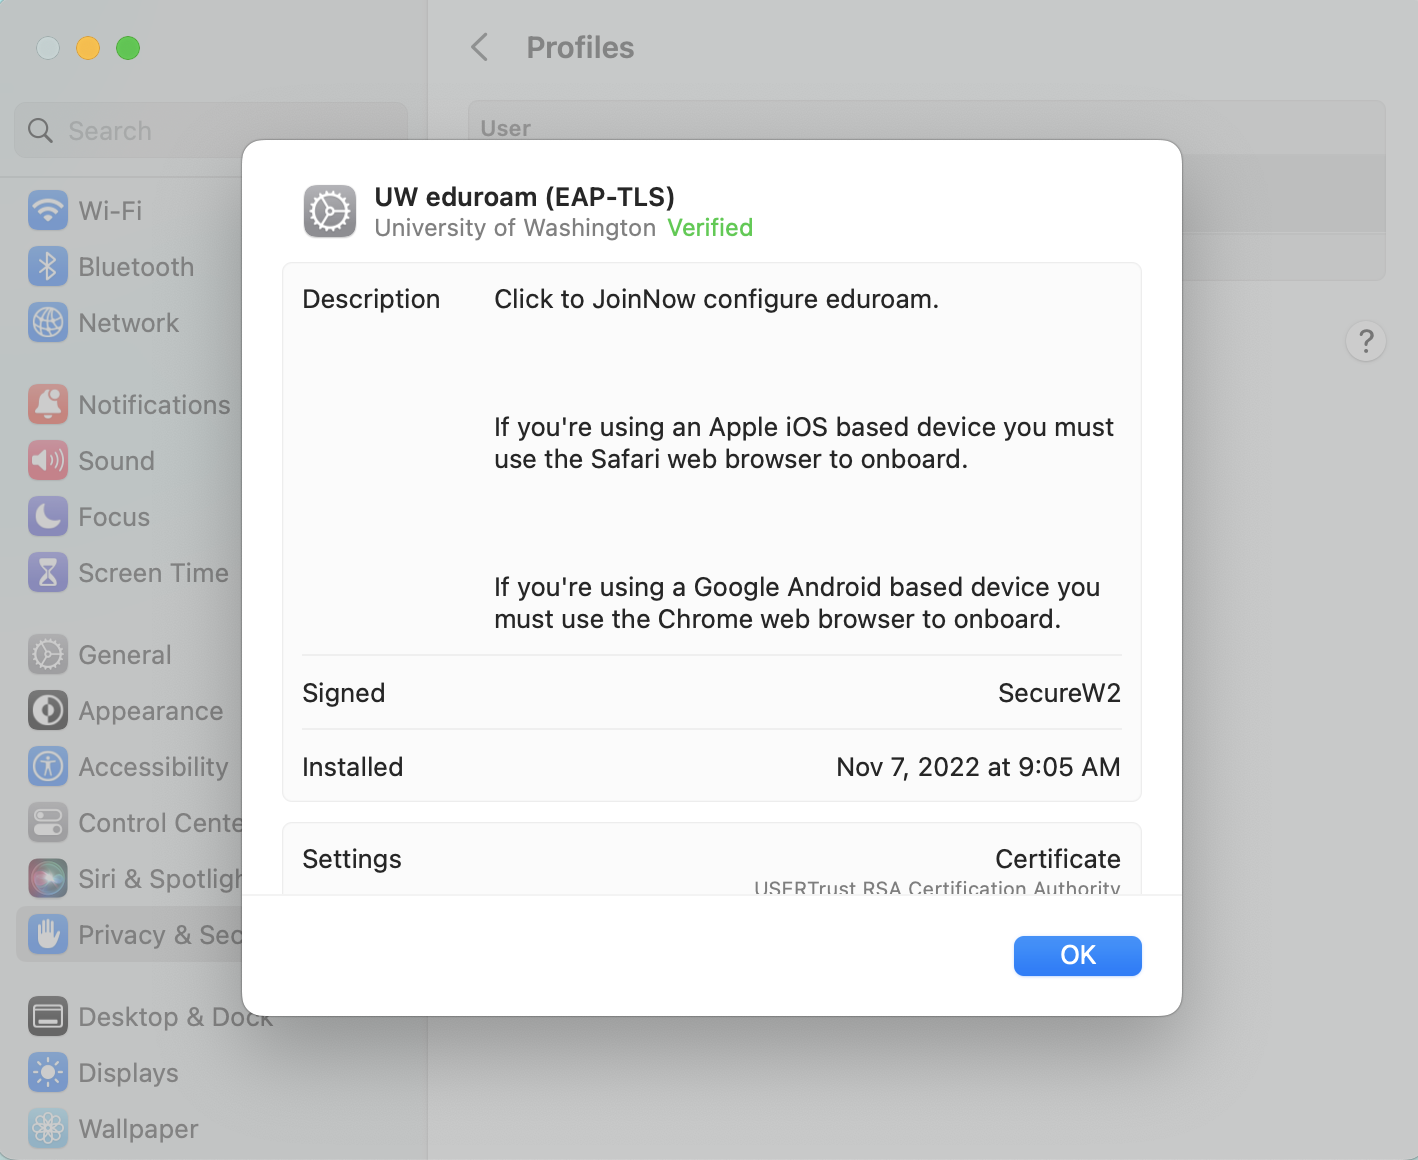
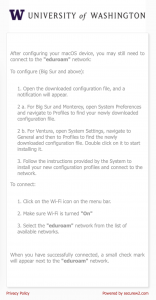
- The eduroam profile setup is now complete. Click the ok button and close the "Profile" window.
- Next, click on the Wi-Fi icon in the upper right corner and select the "eduroam" network from the list of available networks. You should now be successfully connected to eduroam.


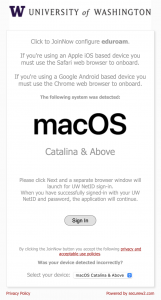
- Open your web browser and navigate to http://onboard.wifi.uw.edu.
- Click the "Sign In" button to begin the onboard software download process.
- Enter your UW NetID and password then press "Sign in".
- Click the "JoinNow" button to begin the onboard software download.
- Open the download location and double-click the file SecureW2.mobileconfig.
- You may receive a popup asking you to review and install the profile in System Settings.
- Click the Apple icon in the top left corner of the screen and go to "System Settings", click on Privacy & Security and then select "Profiles" under Others.
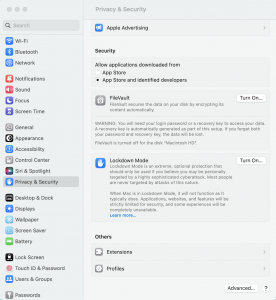
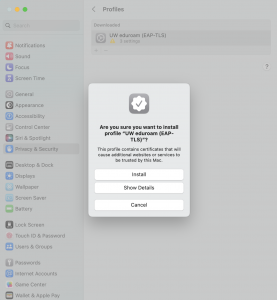
- Double click the file "UW eduroam (EAP-TLS)" under Profiles and click on "Install".
- Select "Install".
- Use your Touch ID sensor or click "Use Password..." to enter your macOS password.
- The eduroam profile setup is now complete. Click the ok button and close the "Profile" window.
- Next, click on the Wi-Fi icon on upper right corner and select "eduroam" network from the list of available networks. You should be now successfully connected to eduroam.


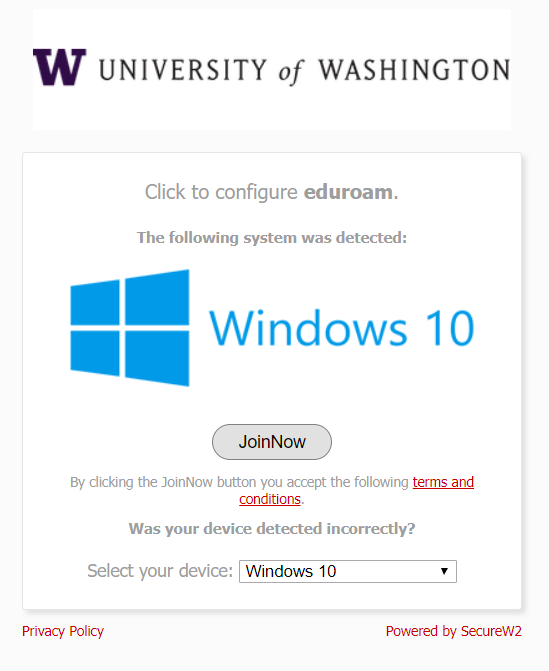
- Open your web browser and navigate to http://onboard.wifi.uw.edu.
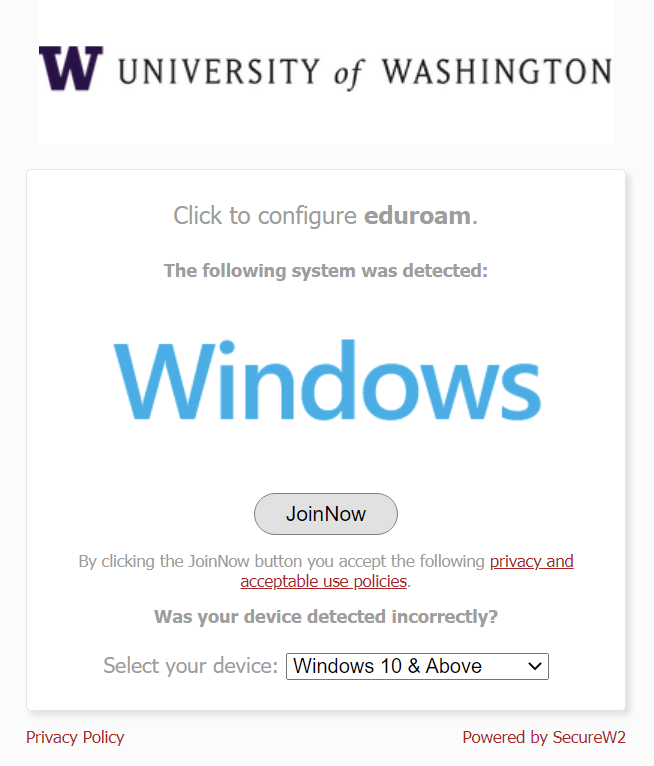
- Click the "JoinNow" button to begin the onboard software download.

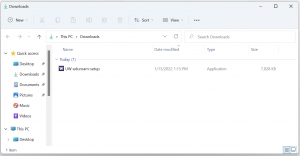
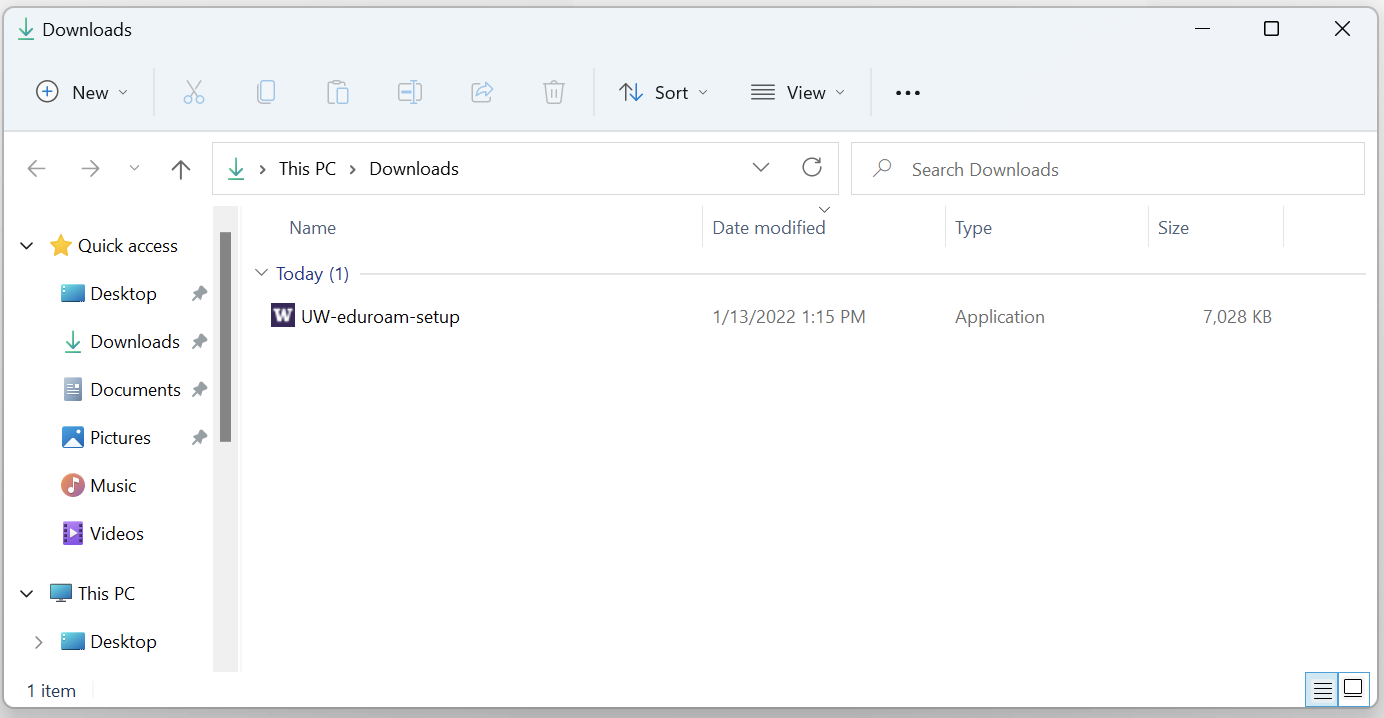
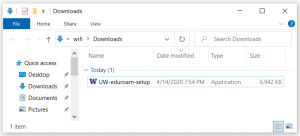
- Open the download location and double-click the "UW-eduroam-setup.exe" file.
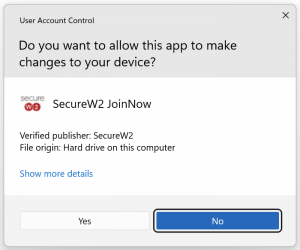
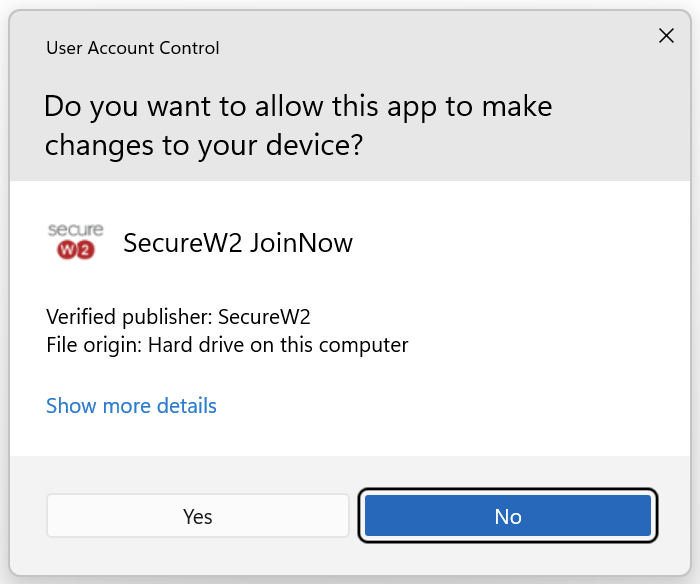
- Click "Yes".
- Click "Next".
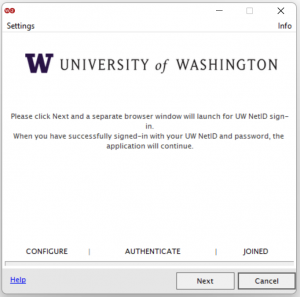
- Your web browser will open. Enter your UW NetID and password then click "Sign in".
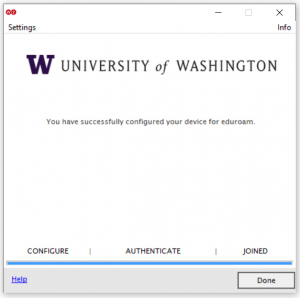
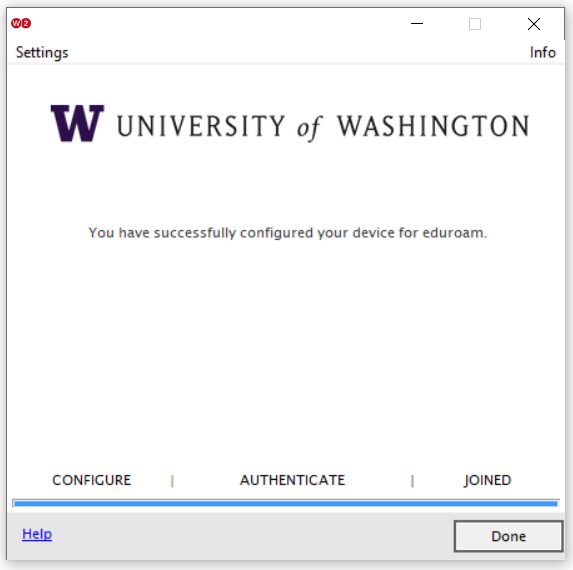
- The eduroam profile setup is now complete and you can click "Done" to close the onboard application.
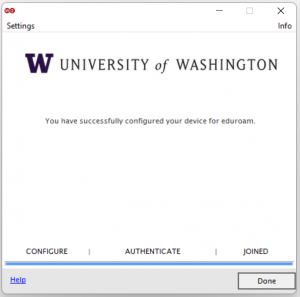
- Once setup completes you can delete the "UW-eduroam-setup.exe" file. When your device is in range of an eduroam network it will automatically associate.


- Open your web browser and navigate to http://onboard.wifi.uw.edu.
- Click the "JoinNow" button to begin the onboard software download.

- Open the download location and double-click the "UW-eduroam-setup.exe" file.
- Click "Next".
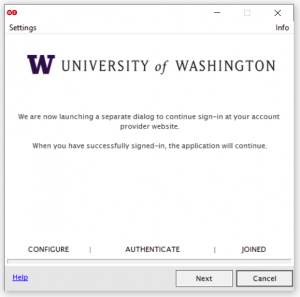
- Your web browser will open. Enter your UW NetID and password then click "Sign in".
- The eduroam profile setup is now complete and you can click "Done" to close the onboard application.
- Once setup completes you can delete the "UW-eduroam-setup.exe" file. When your device is in range of an eduroam network it will automatically associate.


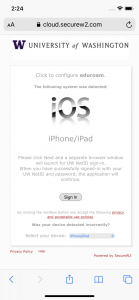
- Open Safari web browser and navigate to http://onboard.wifi.uw.edu. NOTE: Other web browsers will not work correctly.
- Tap "Sign In" to begin the onboard.
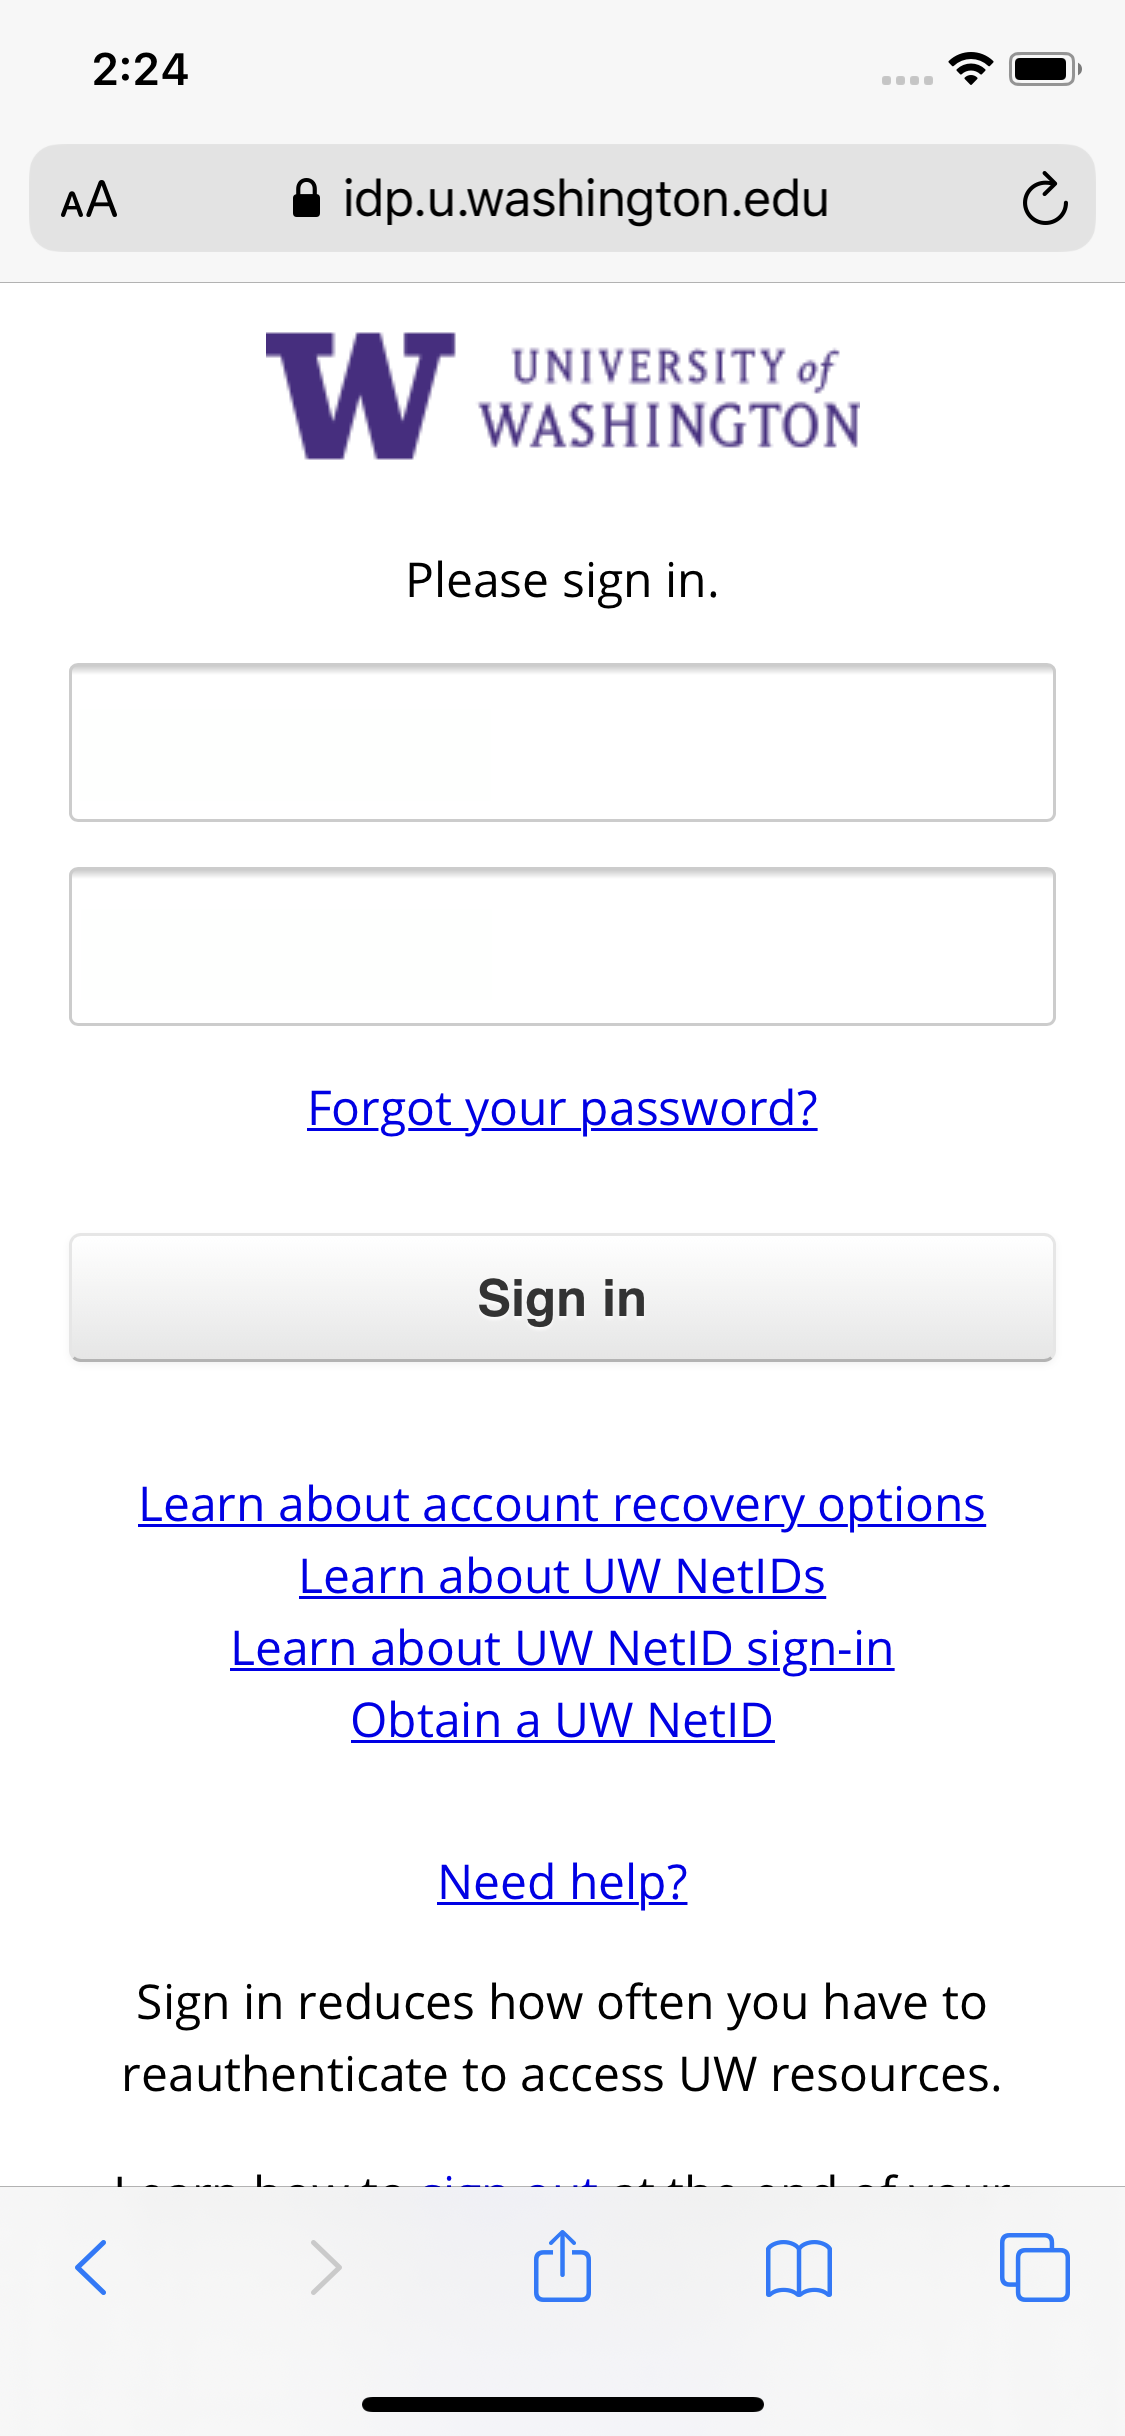
- You will be re-directed to a UW sign-in page. Enter your UW NetID and password, then tap "Sign in".
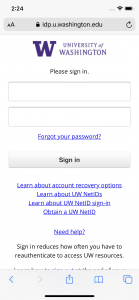
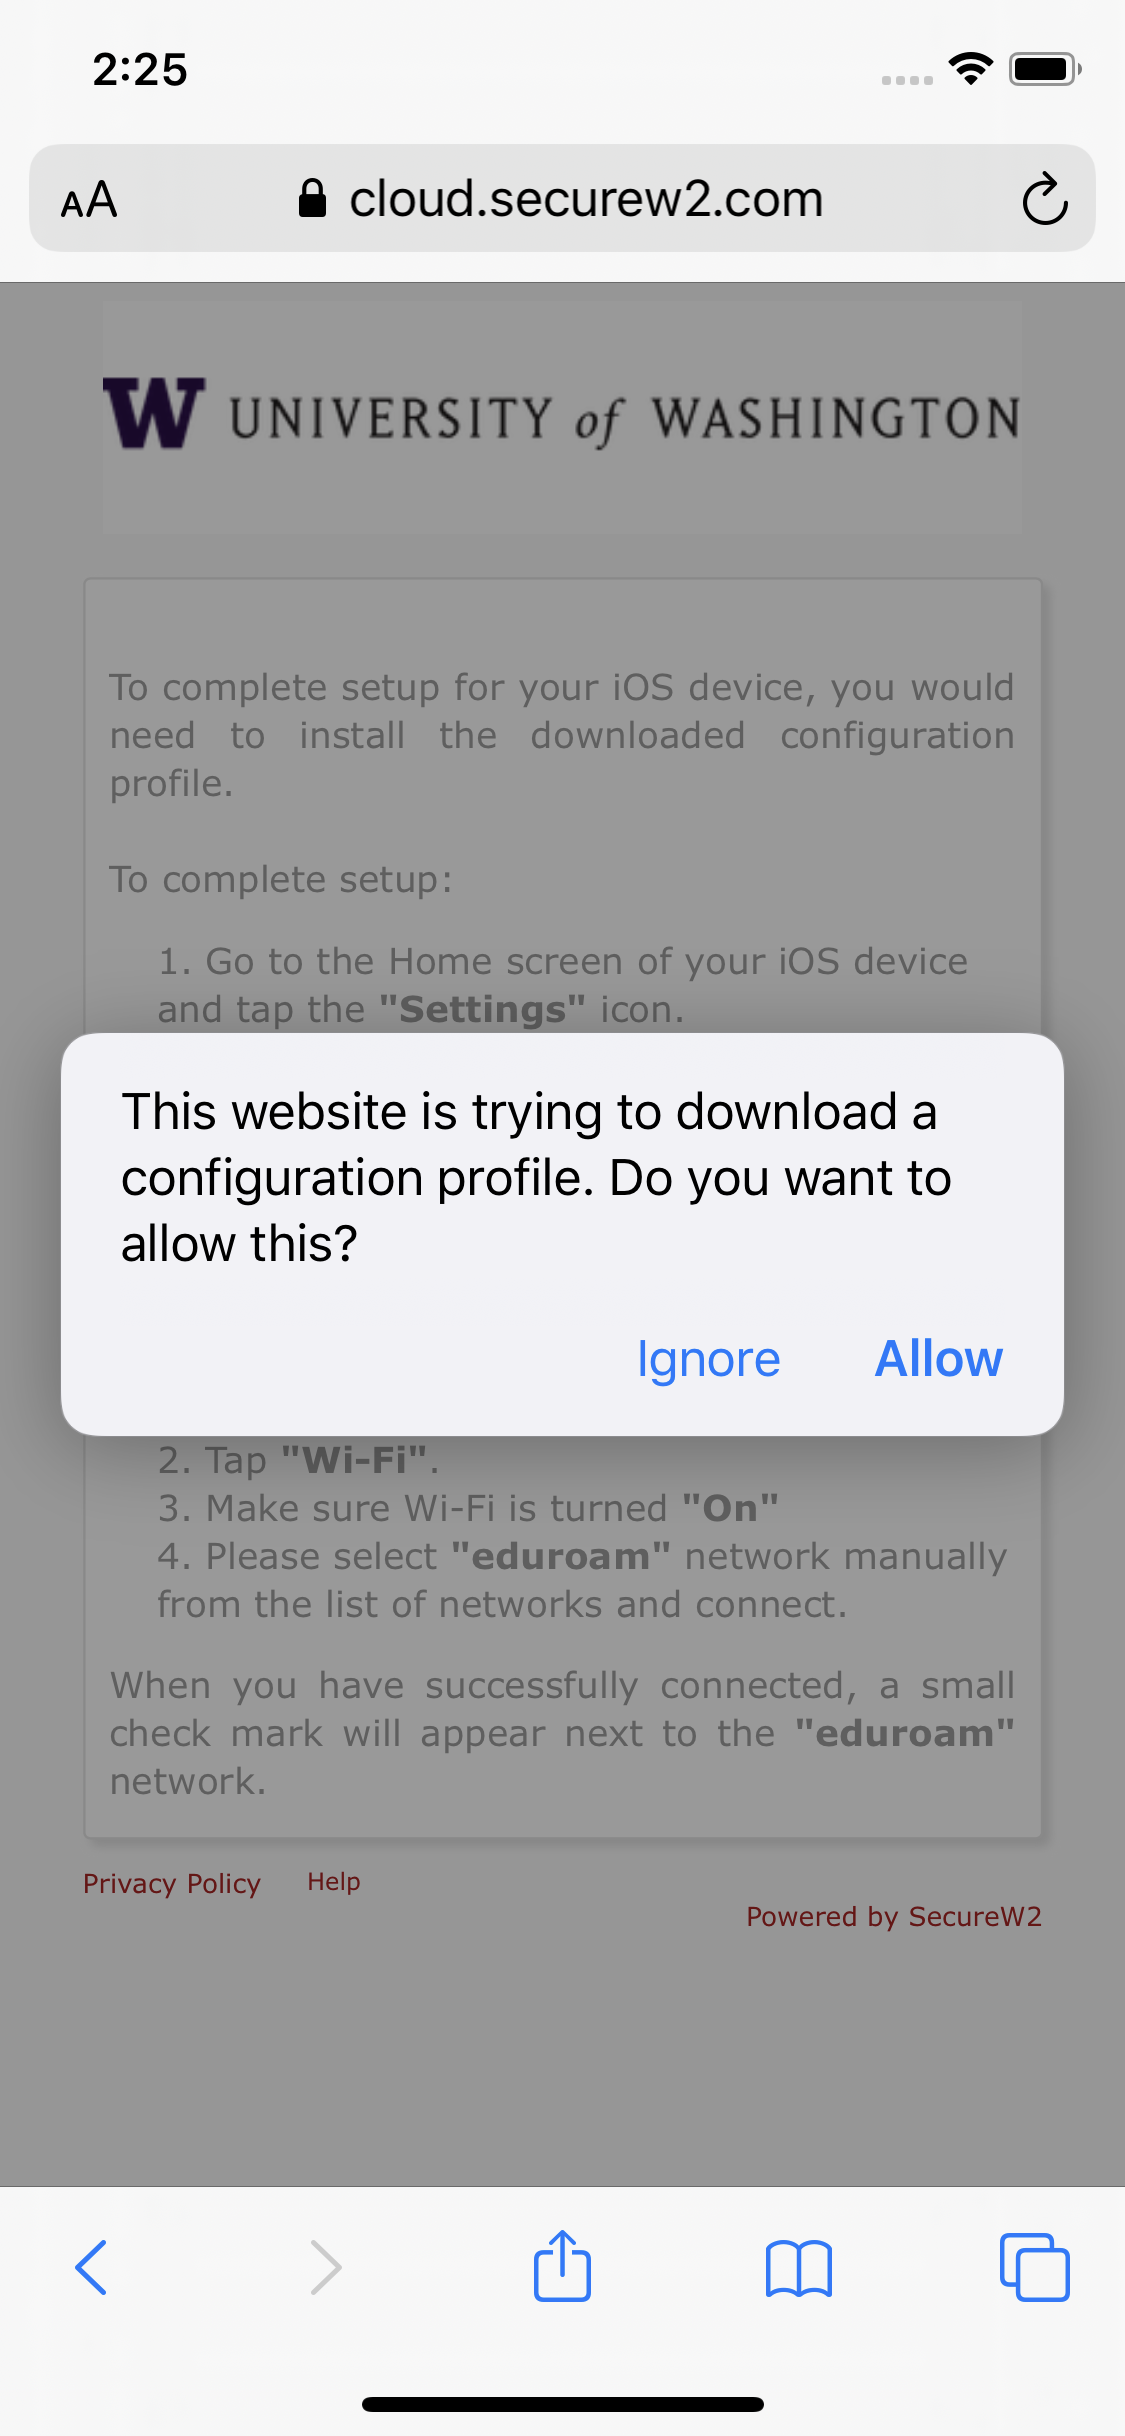
- Tap "JoinNow".

- Tap "Allow".

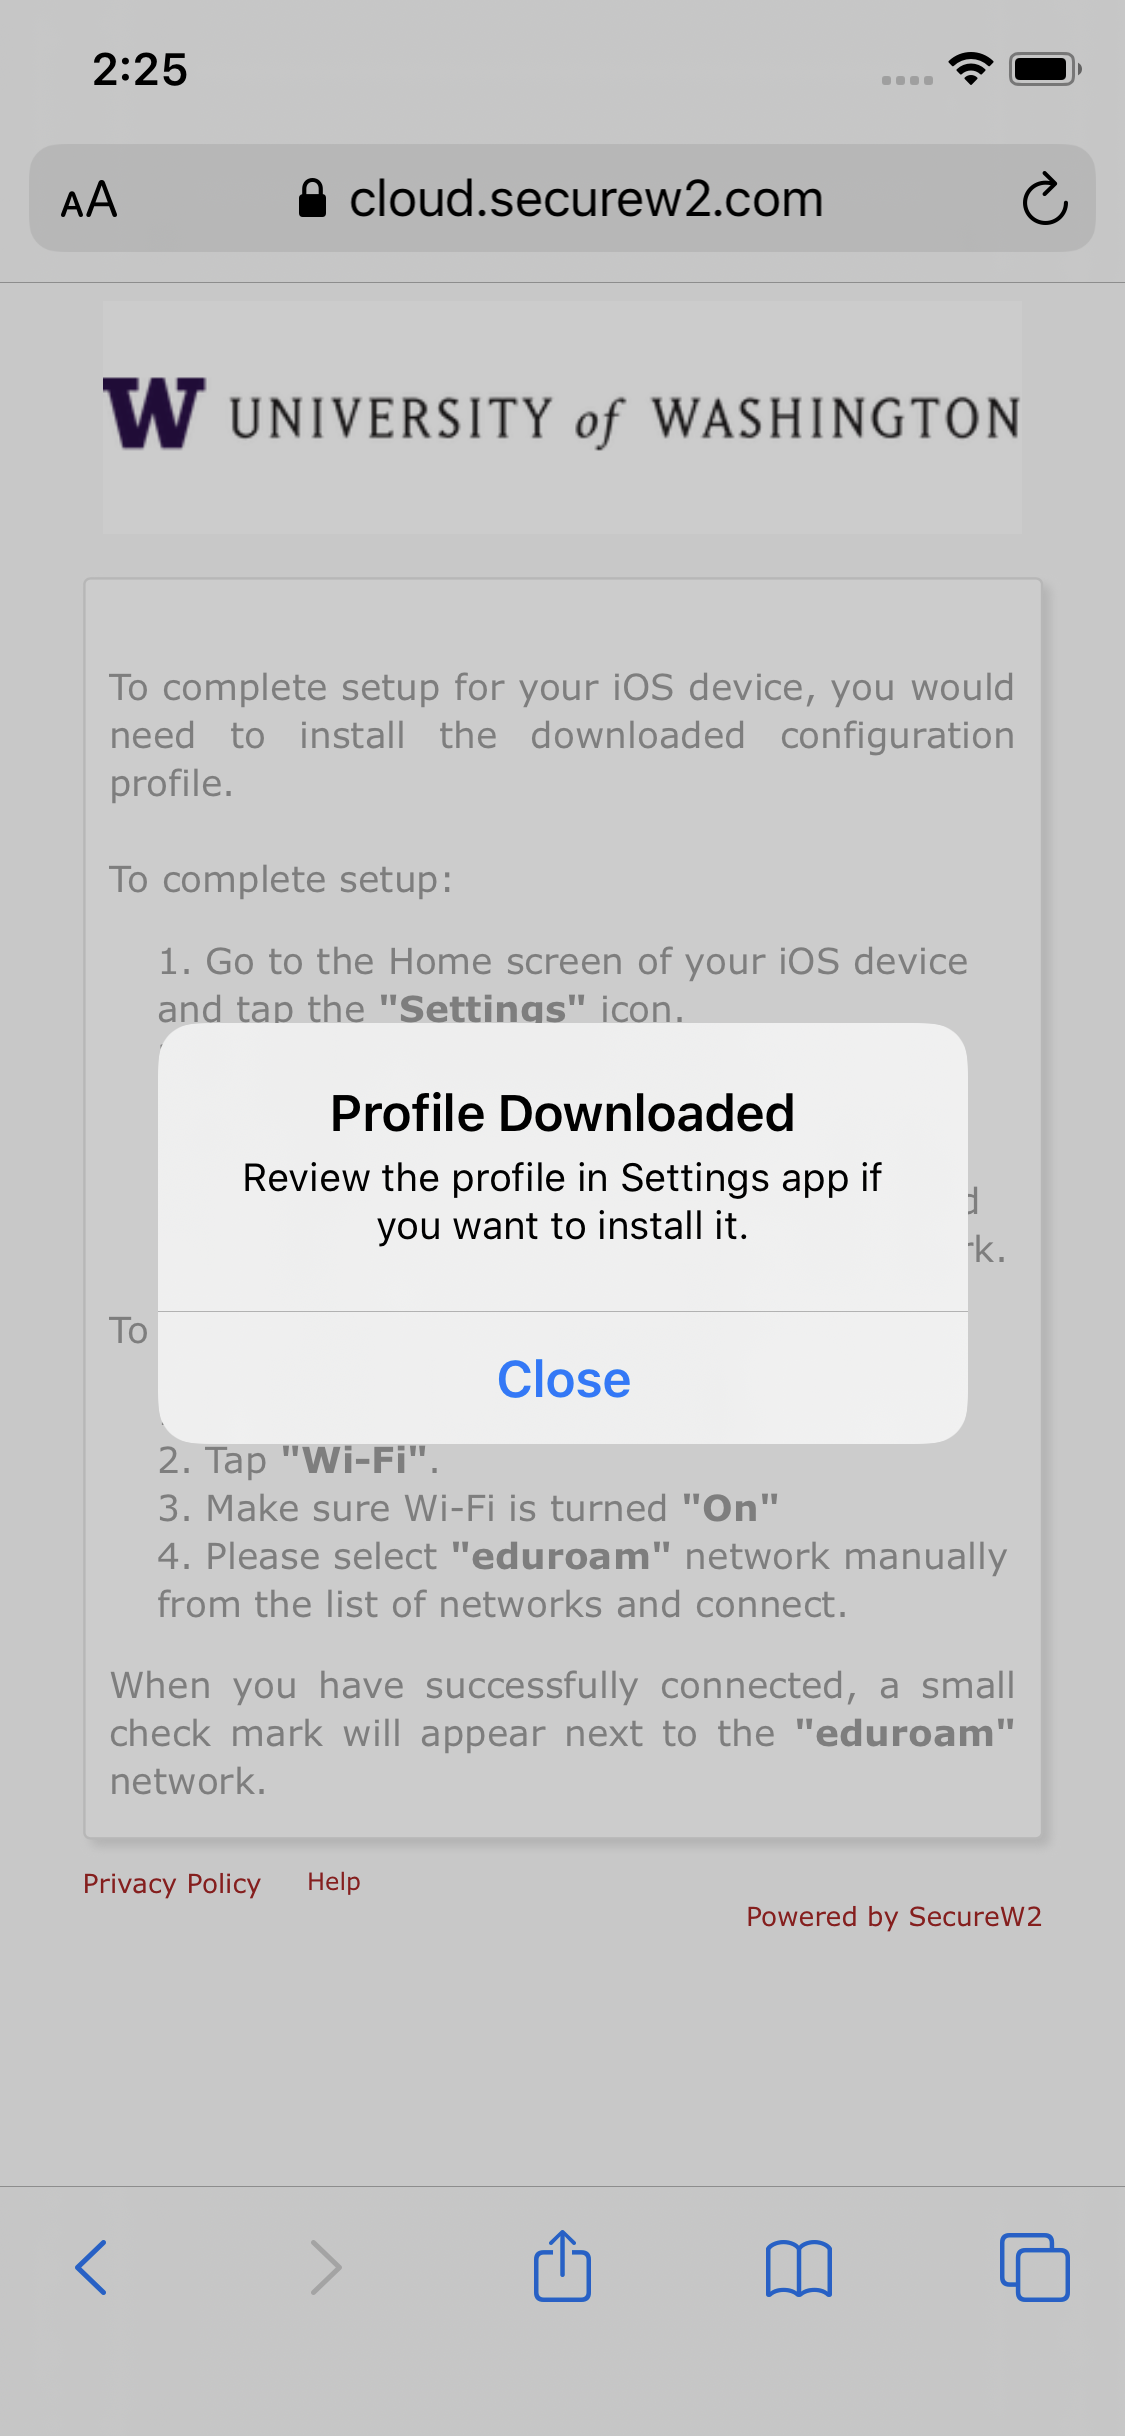
- Tap "Close".
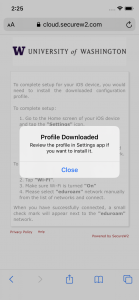
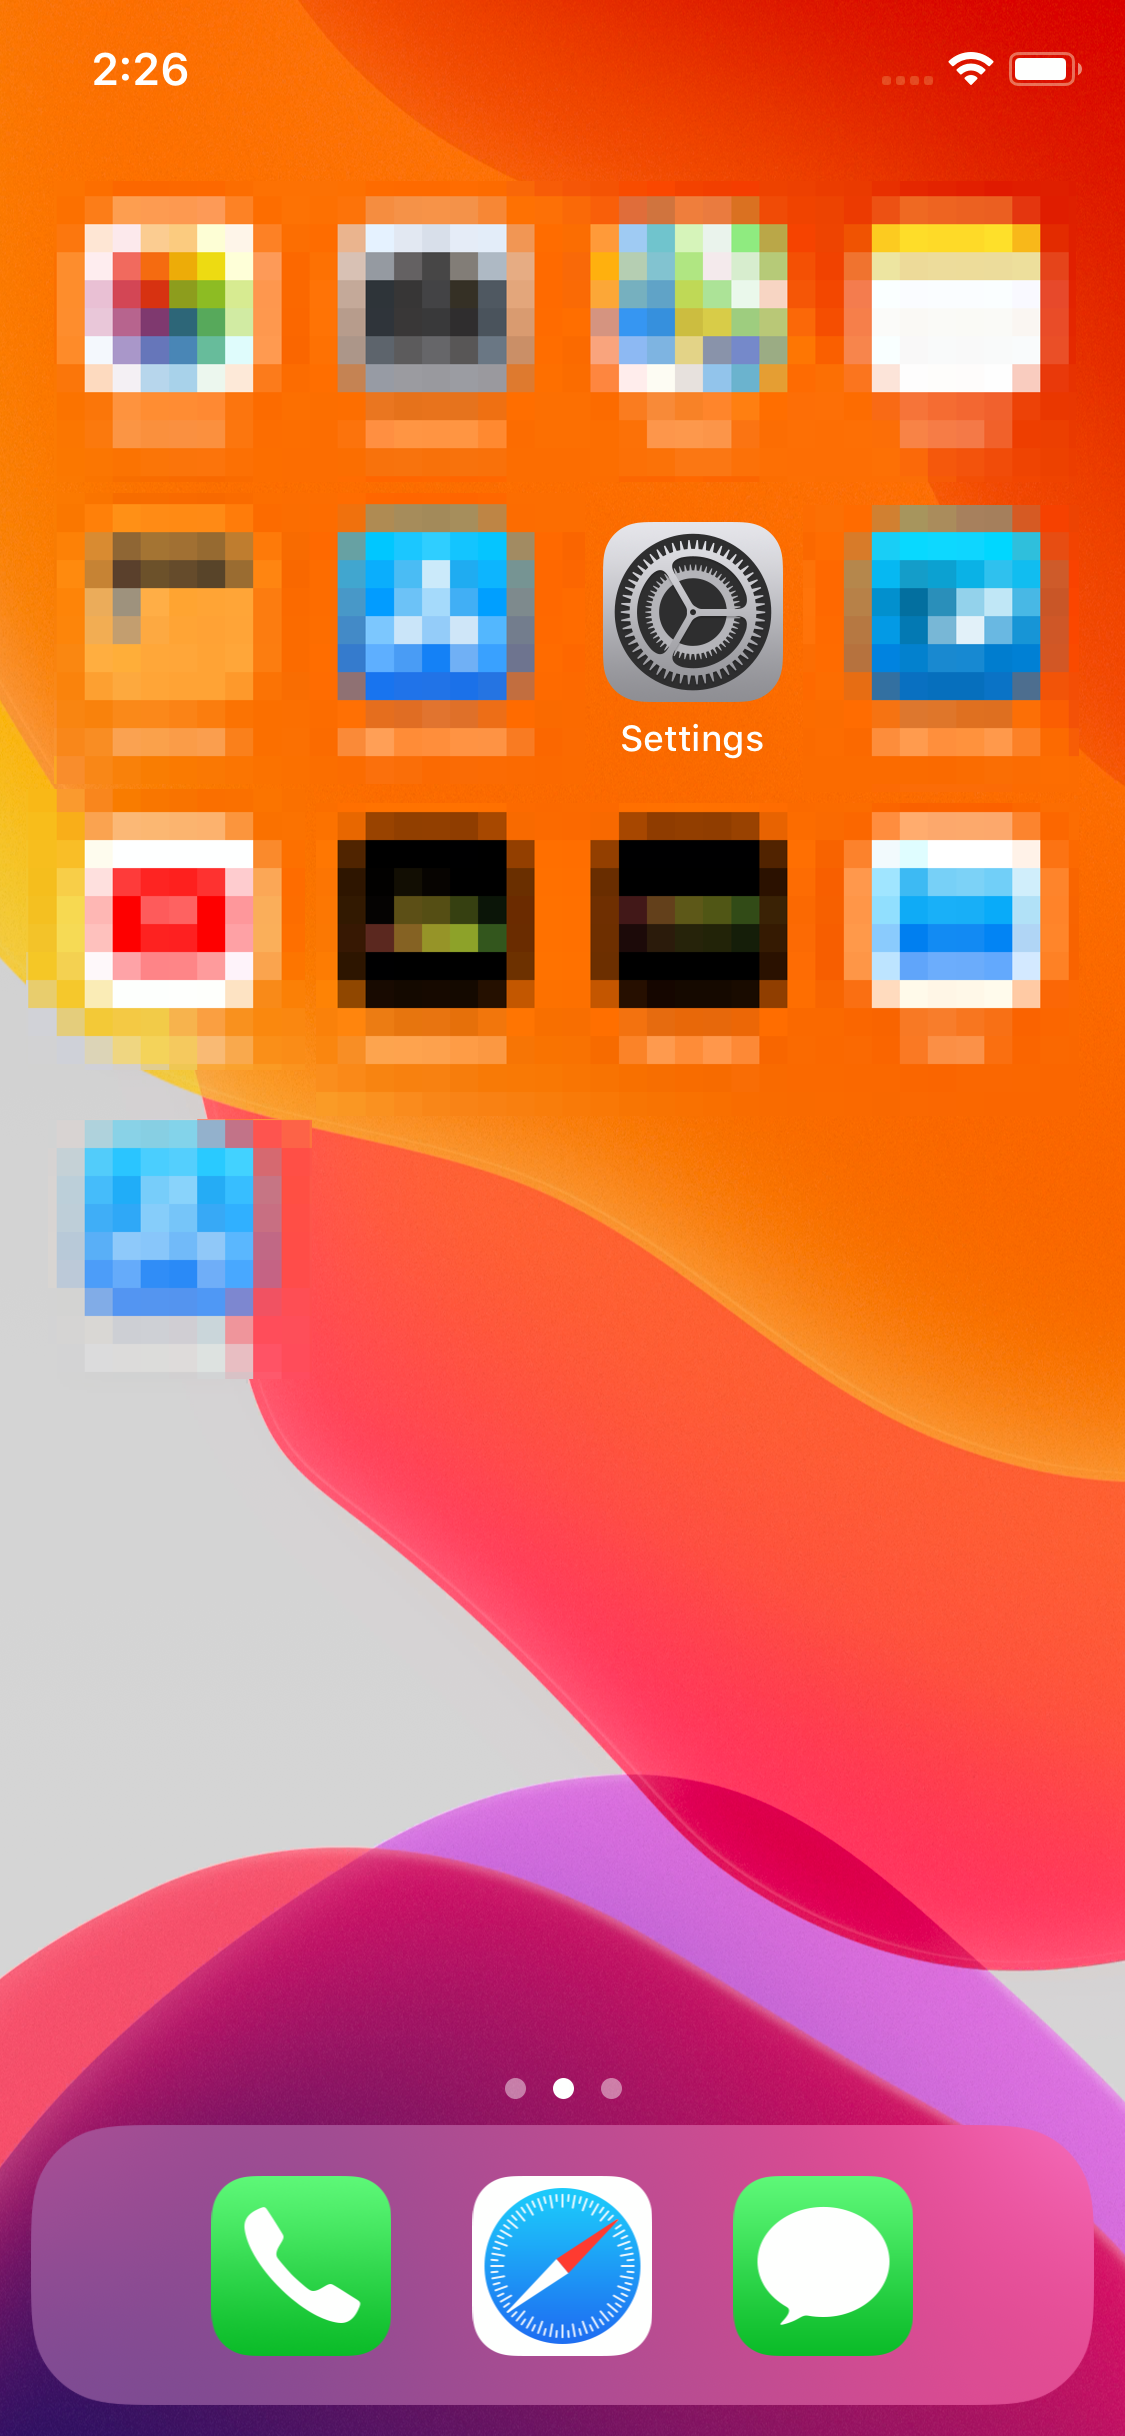
- Navigate back to your home screen and tap "Settings".

- Tap "Profile Downloaded".
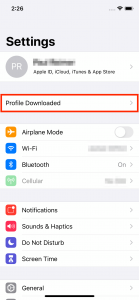
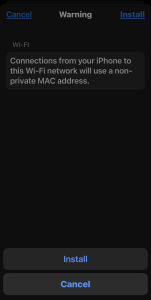
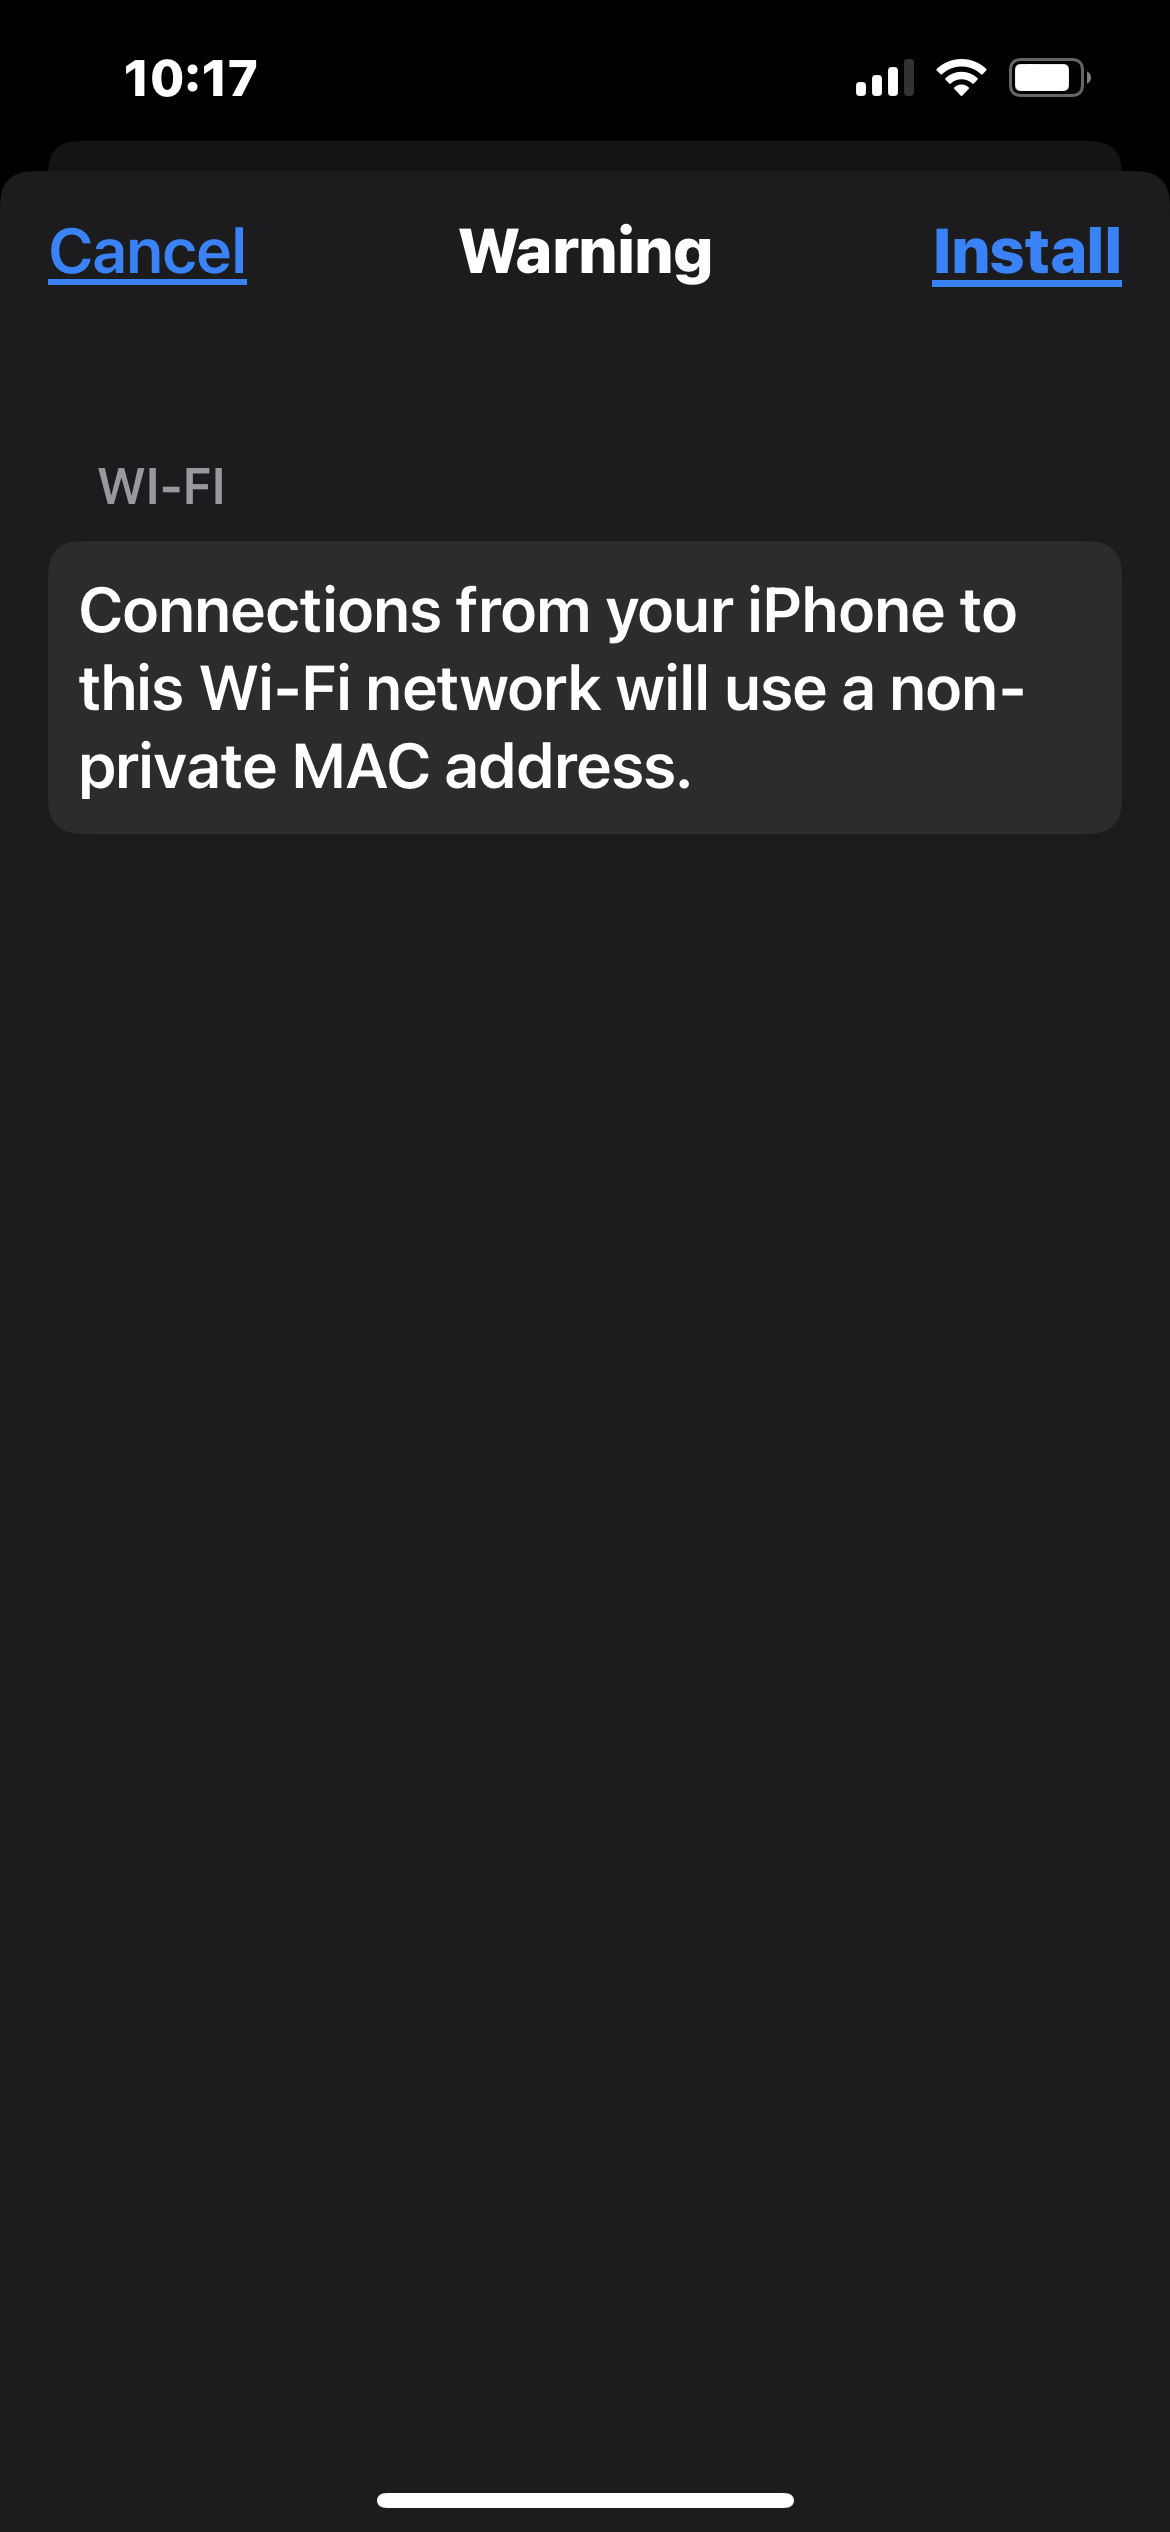
- Tap "Install".
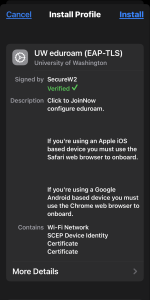
- Enter your lock screen passcode.

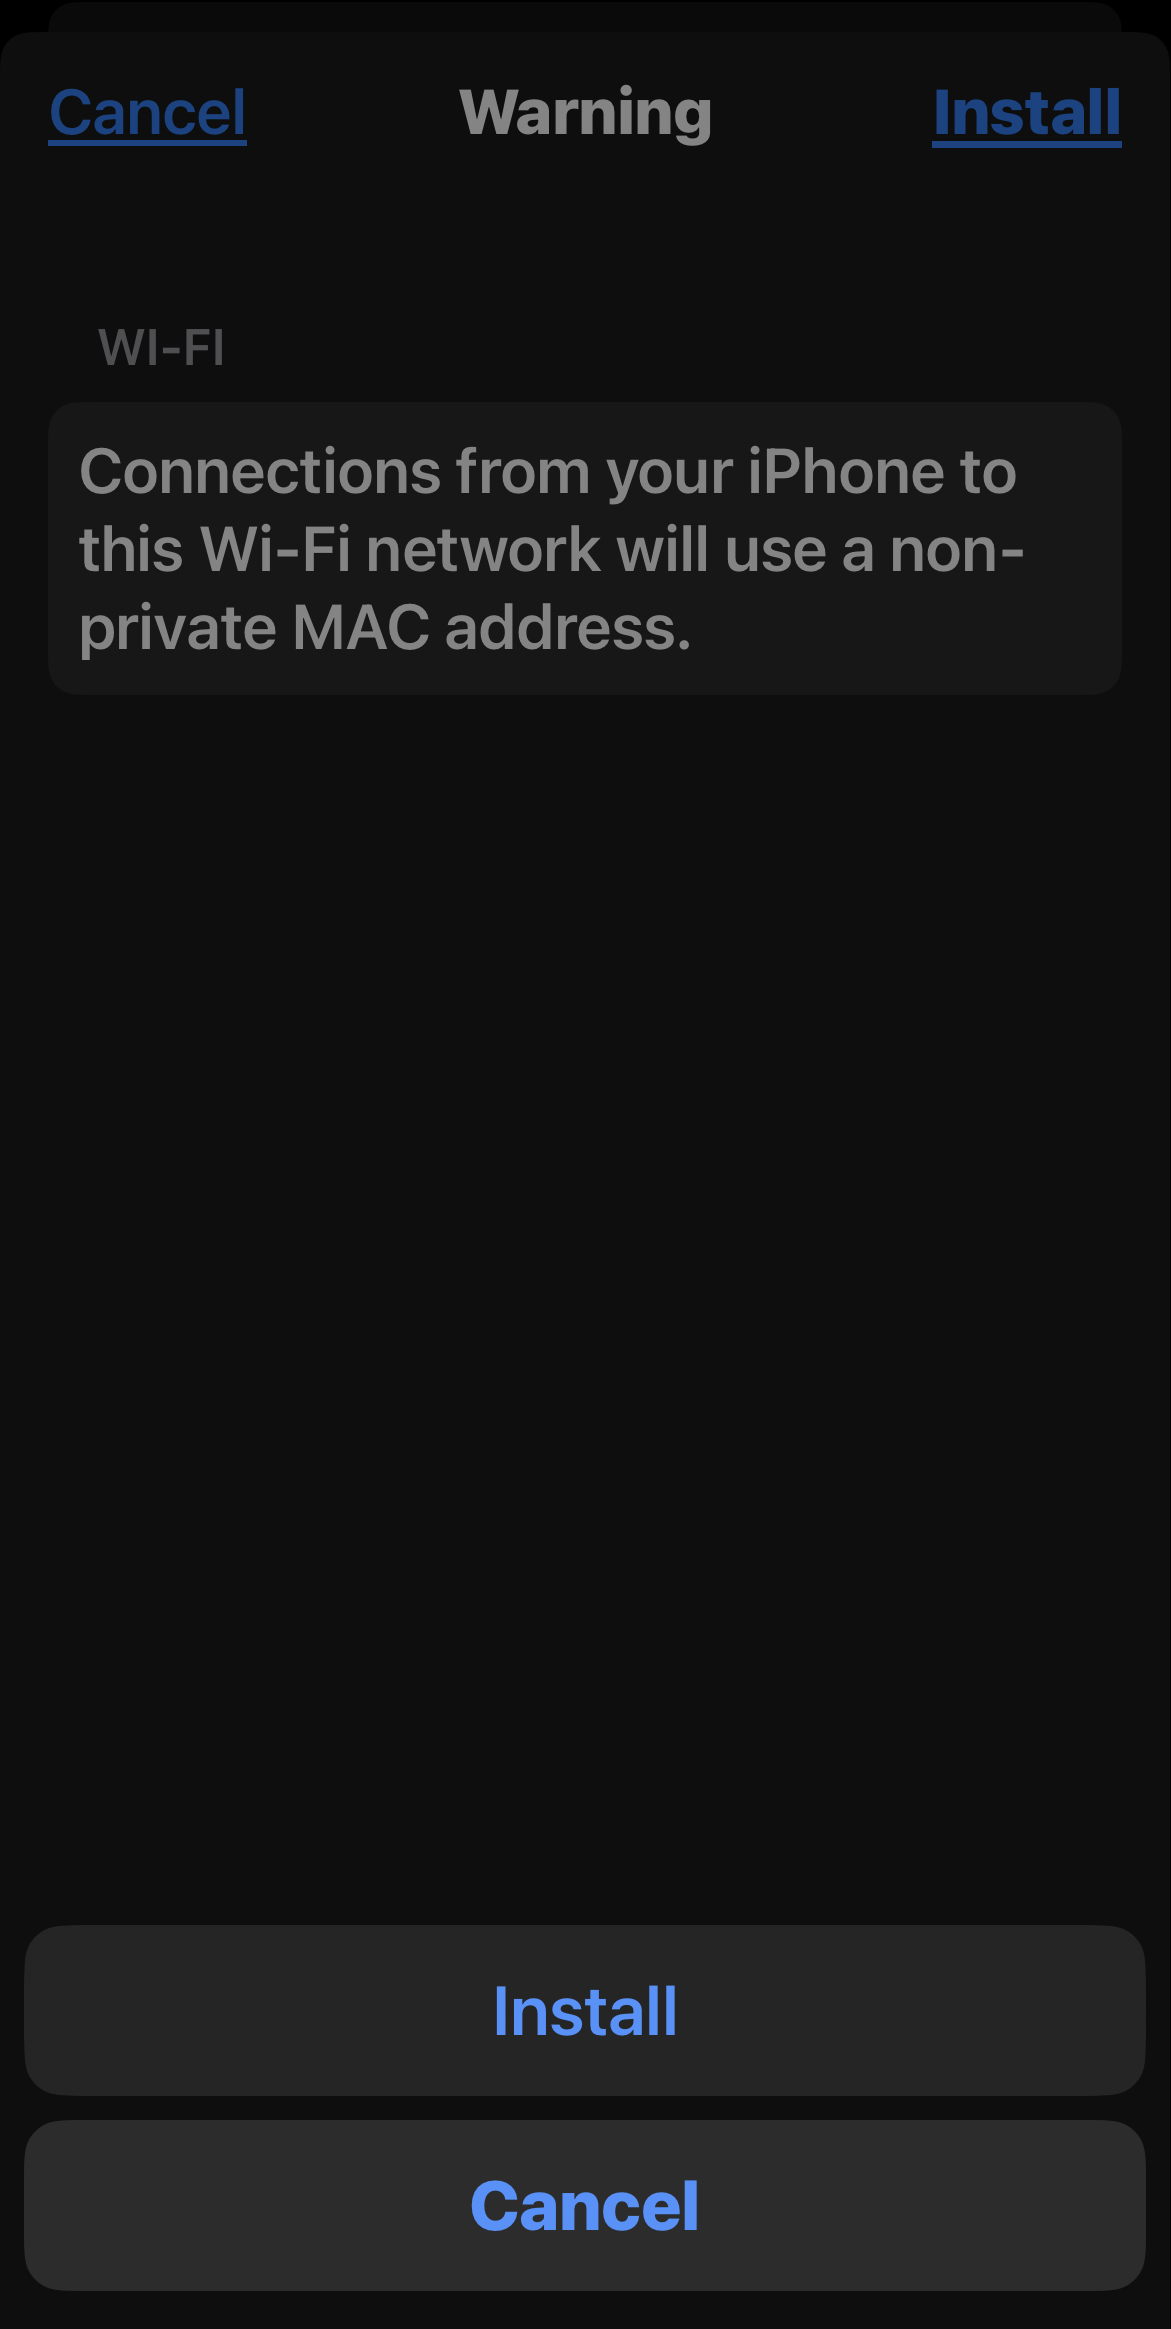
- Tap "Install".

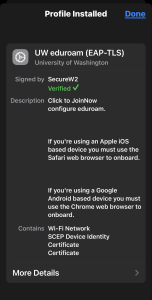
- Tap "Install".
- Tap "Done".
- Tap the "General" then Tap "Settings" to take you back to the main menu. Tap "WLAN", wait a few moments for your device to scan available Wi-Fi networks. Select the "eduroam" Wi-Fi network and your device will associate with the WiFi network. This step only needs to be completed once after the first onboard.
- When your device is in range of an eduroam network it will automatically associate.


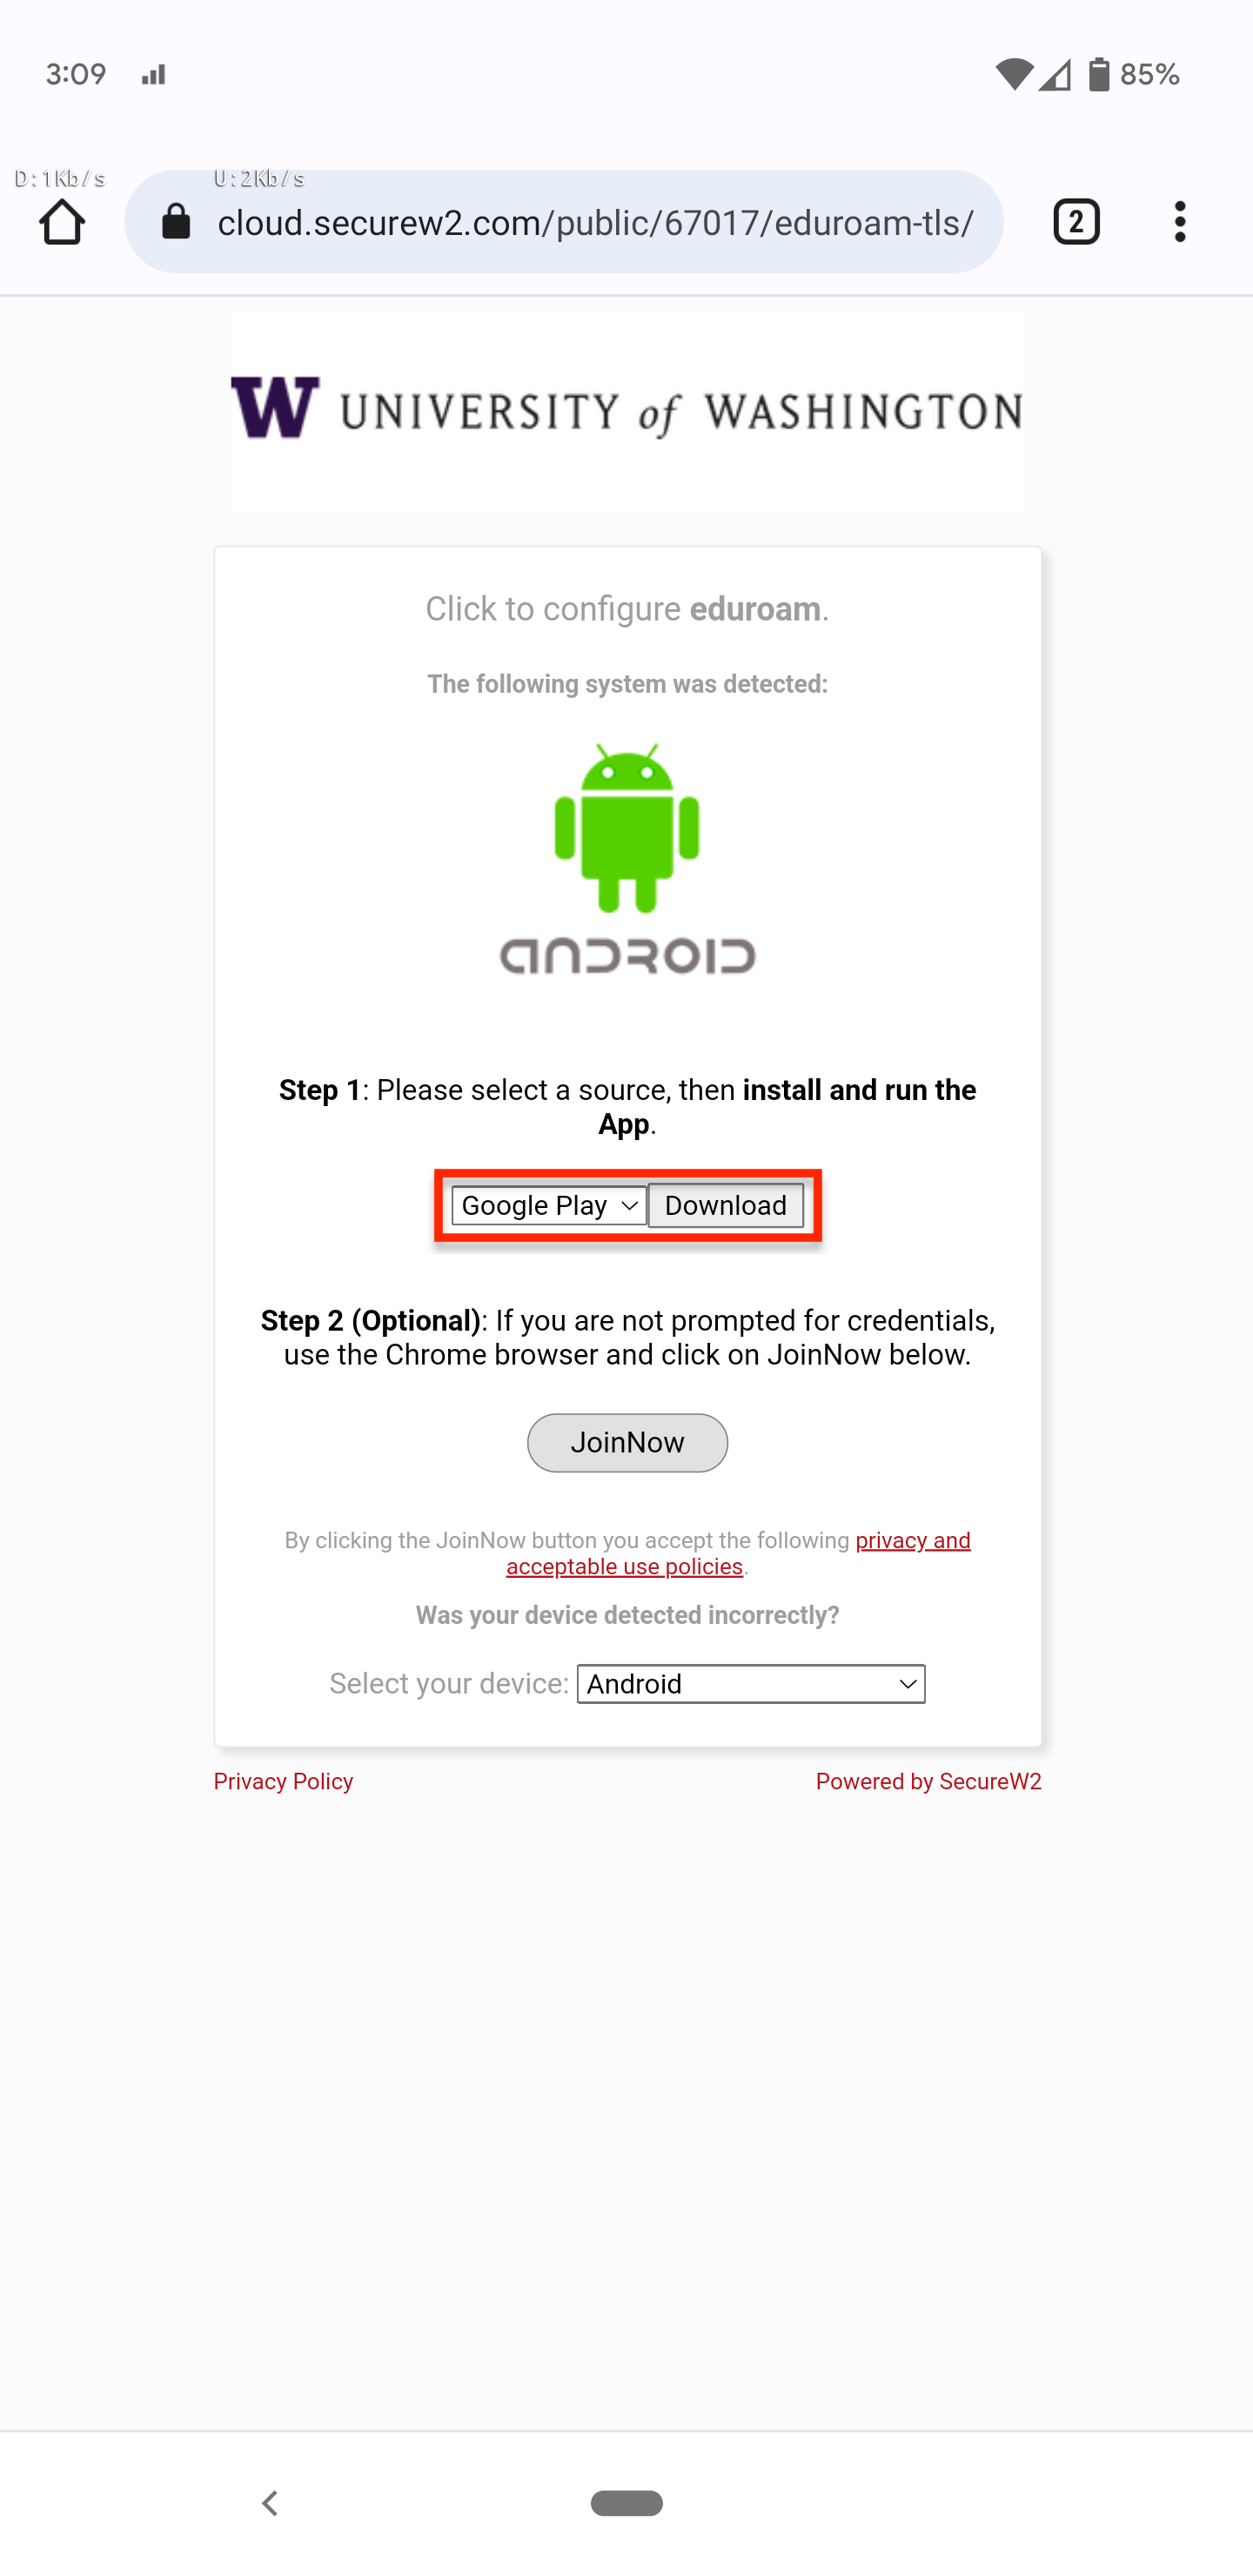
- Open Chrome web browsers and navigate to http://onboard.wifi.uw.edu. NOTE: Other web browsers will not work correctly.
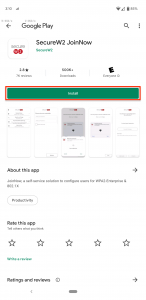
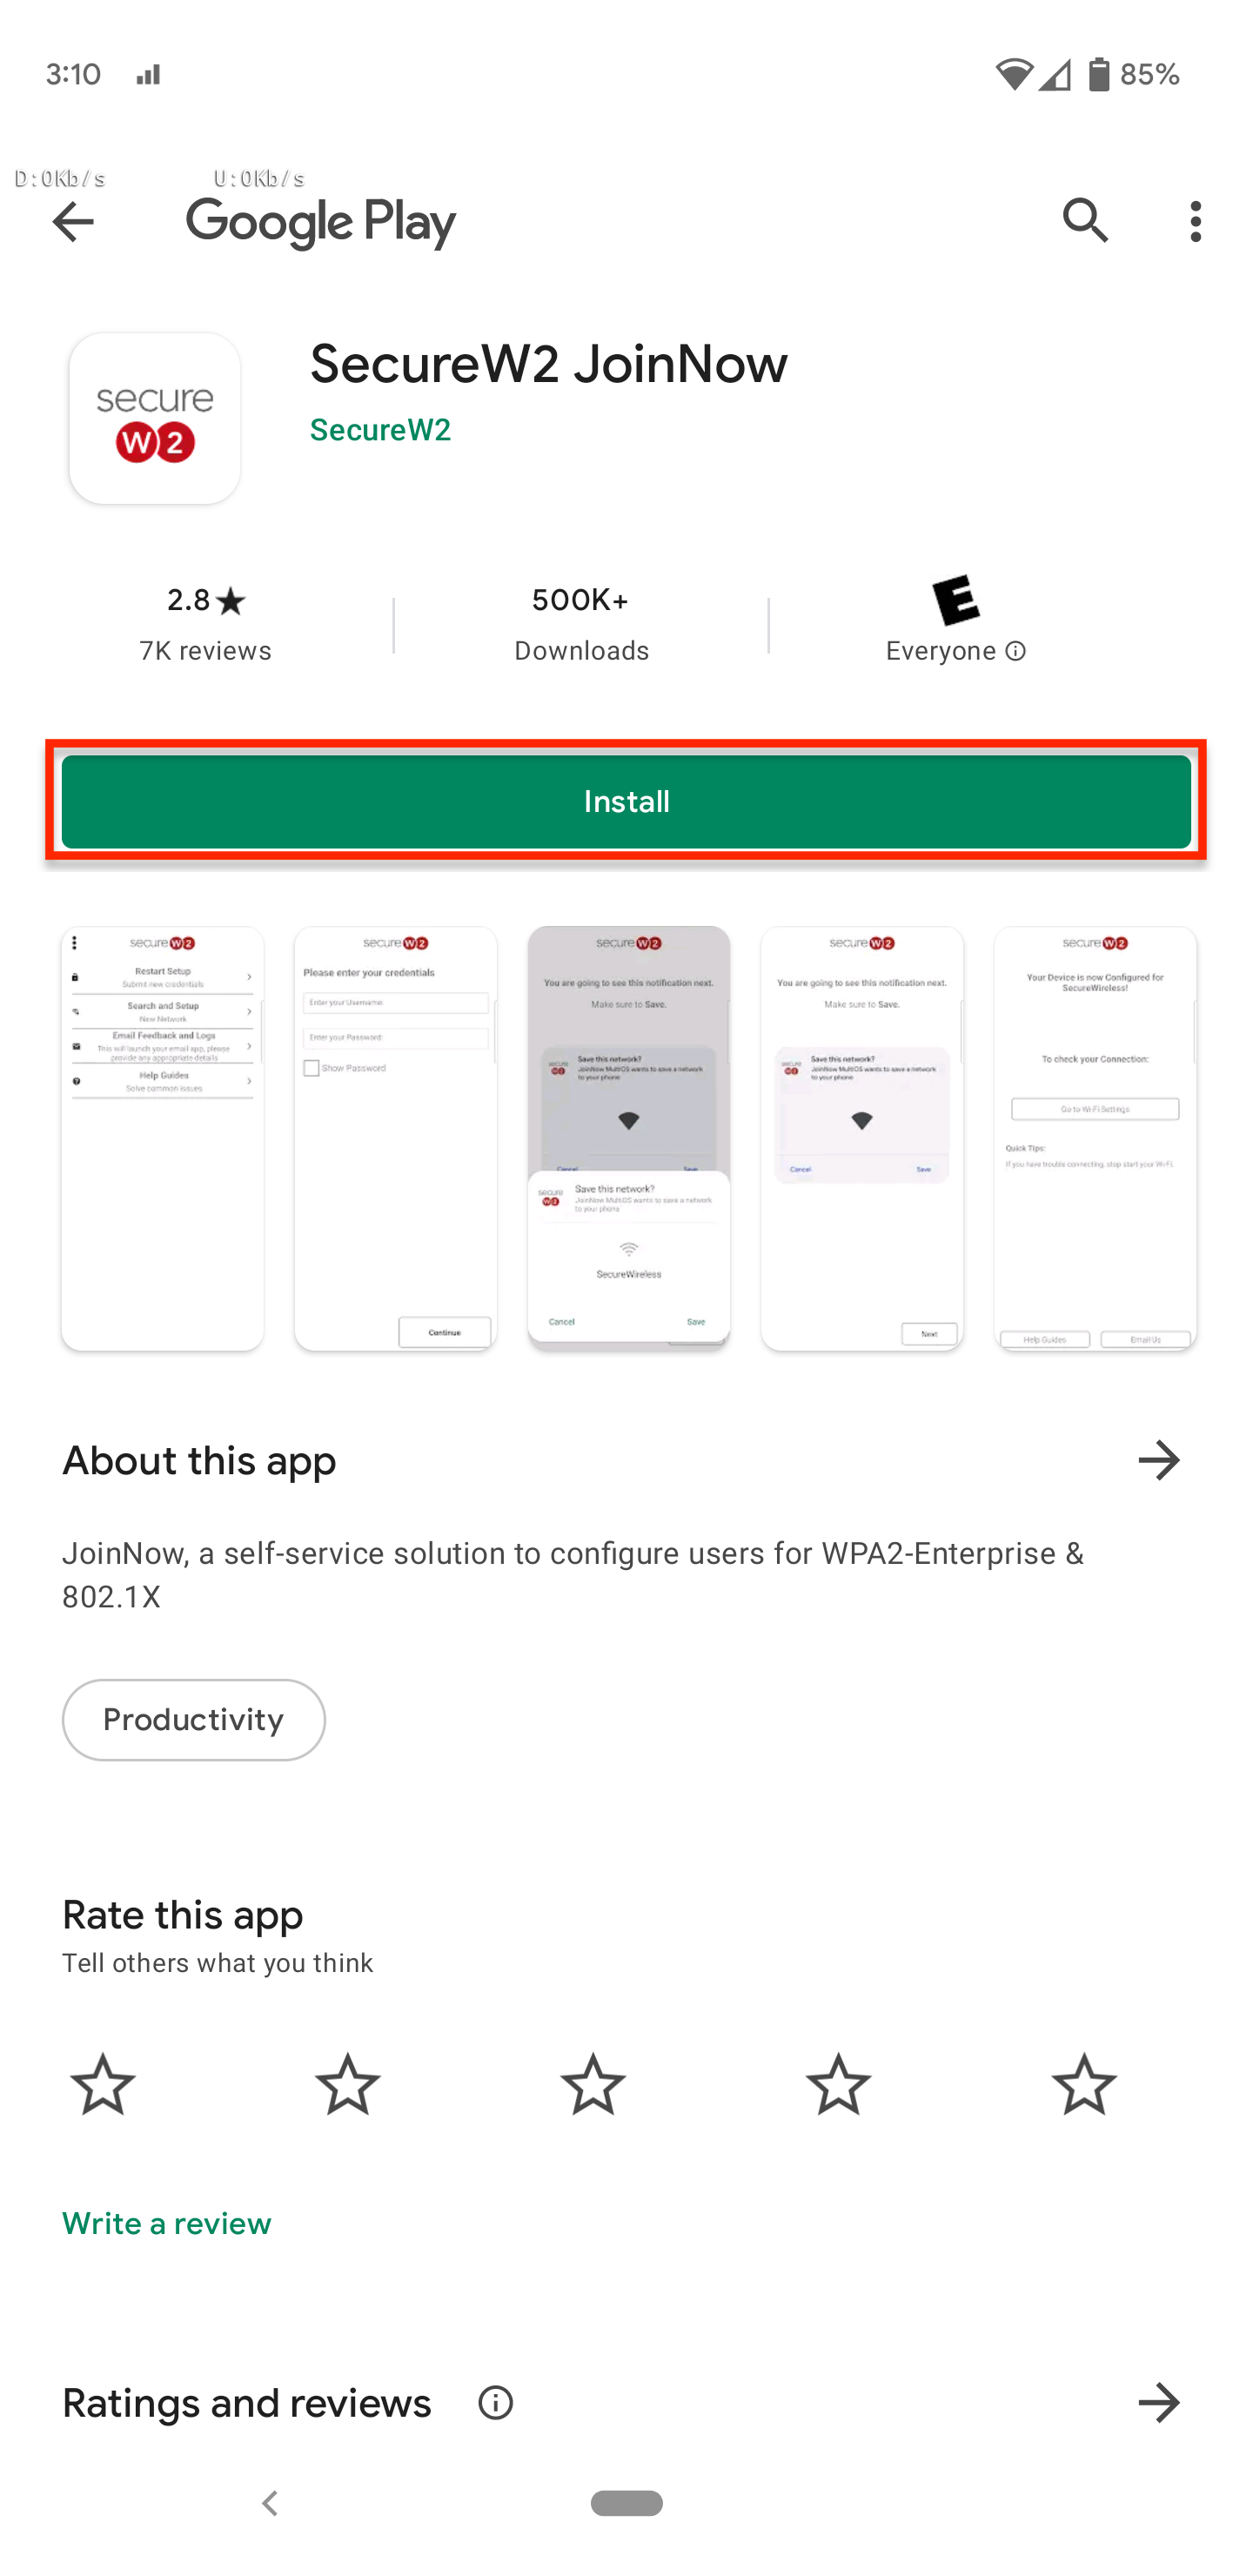
- Tap the "Download" button to open the Google Playstore.

- Tap the "Install" button to install the SecureW2 JoinNow software.
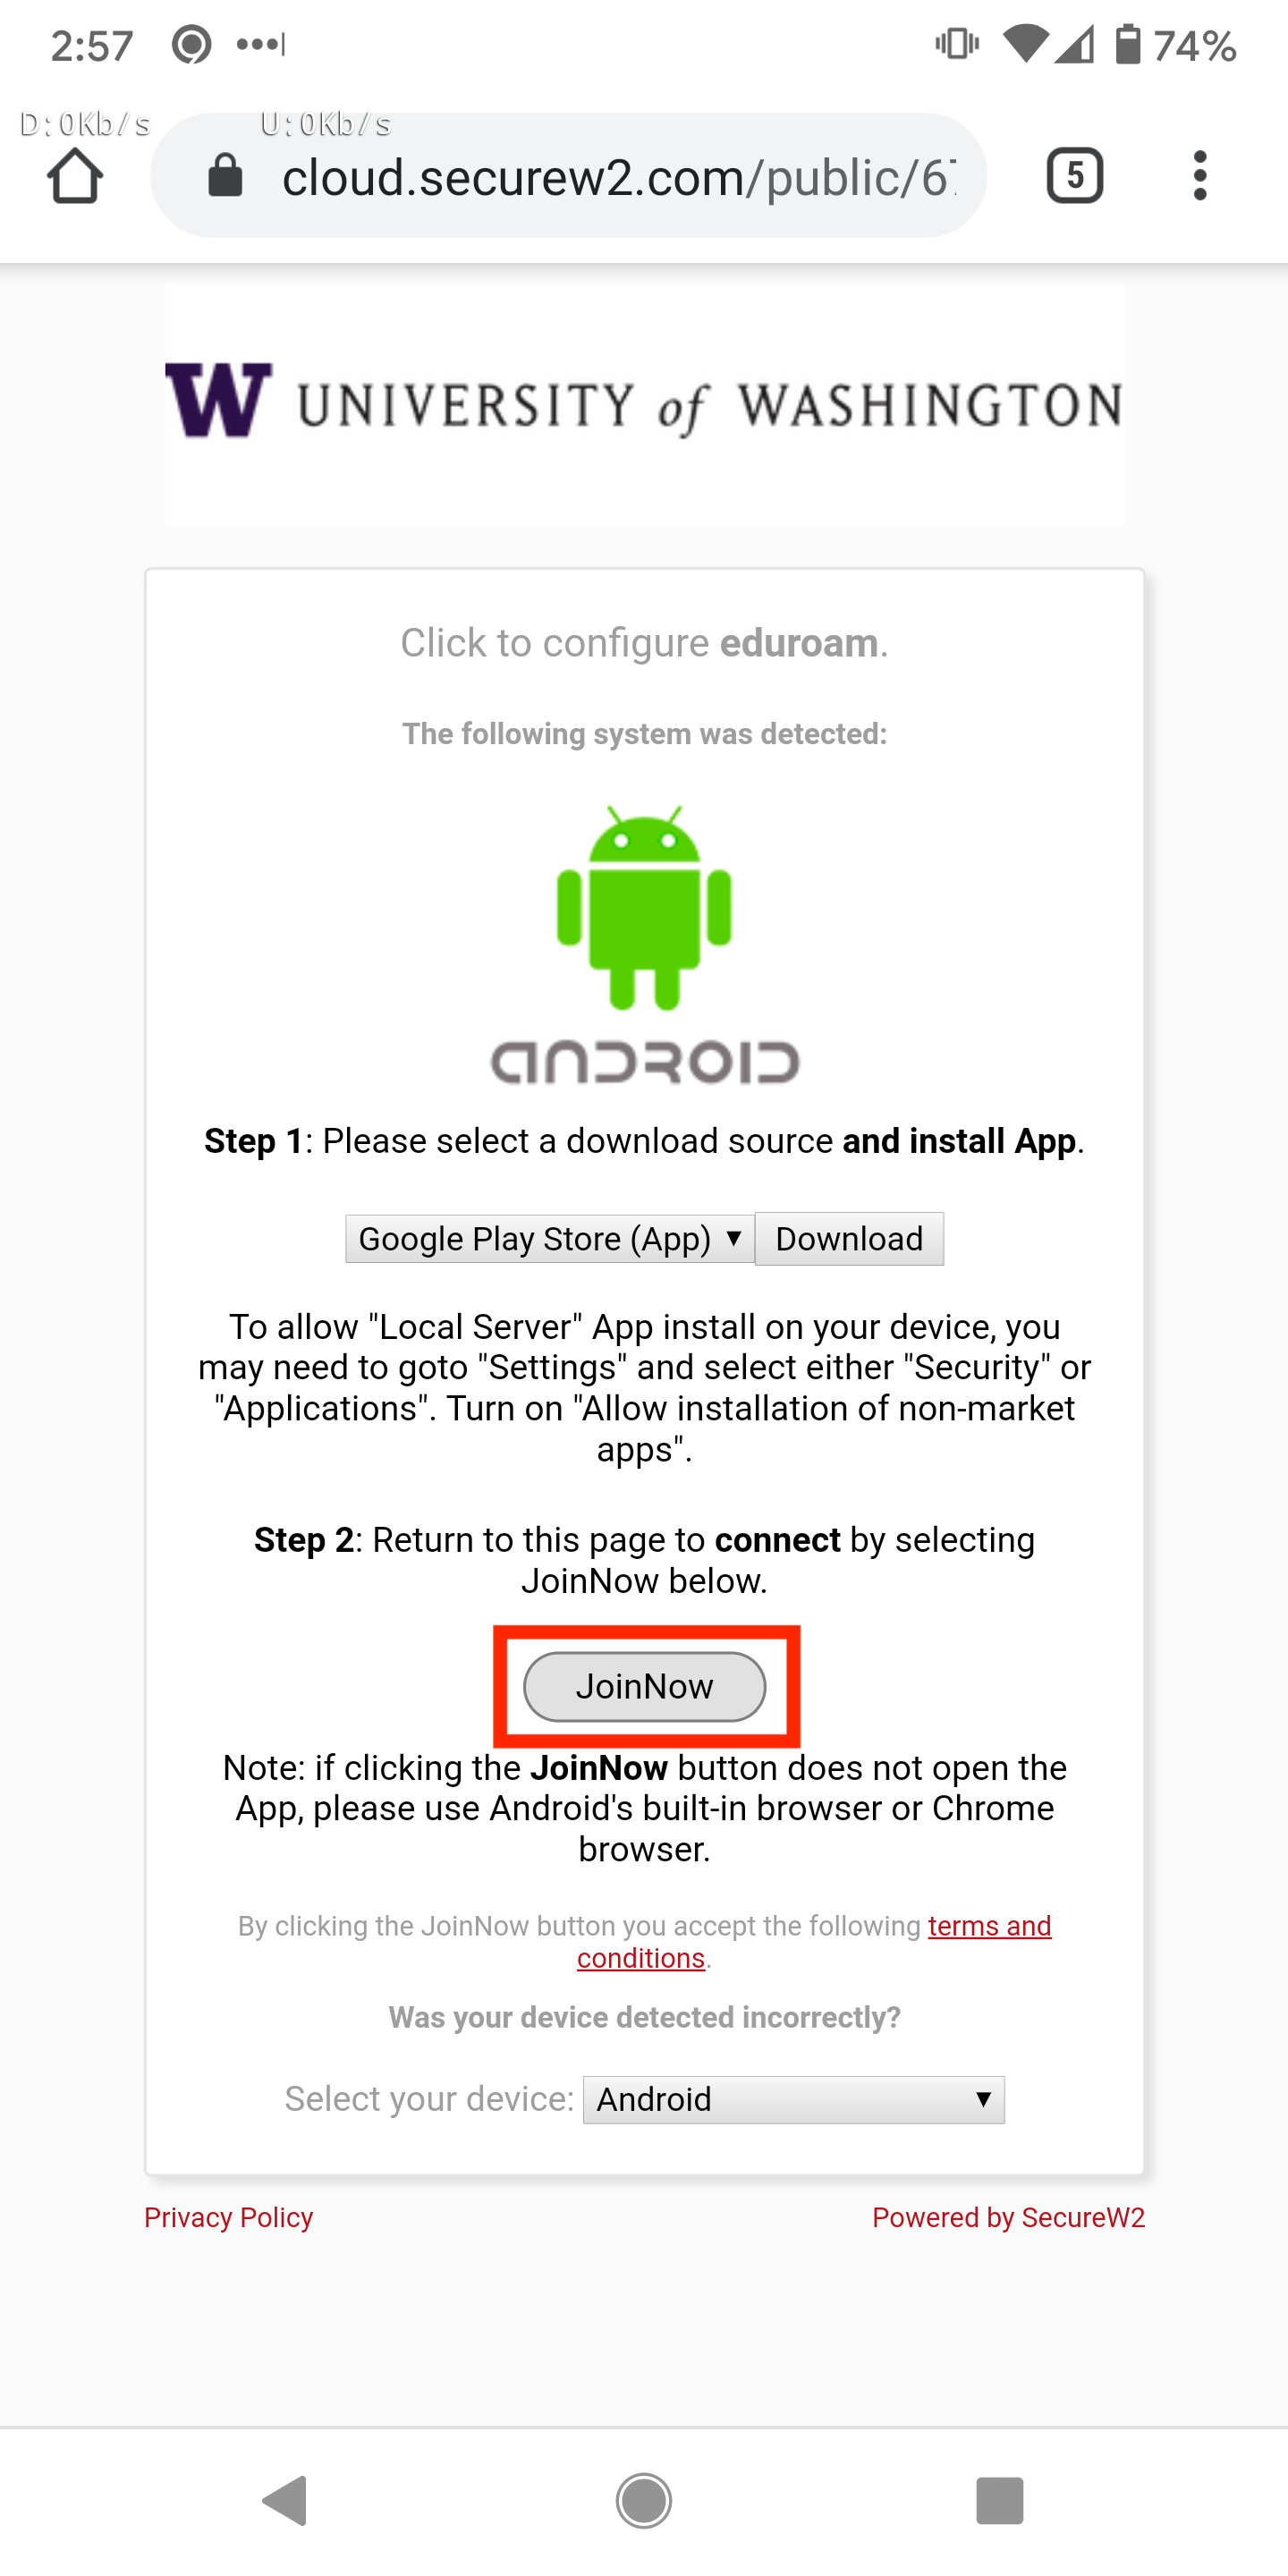
- Tap your device's "Overview" button and select your web browser to go back to the onboarding website.
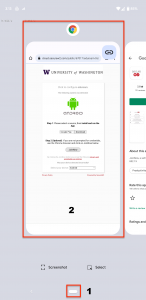
- Tap "JoinNow".

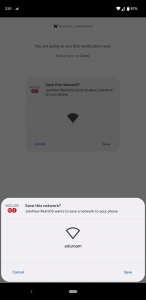
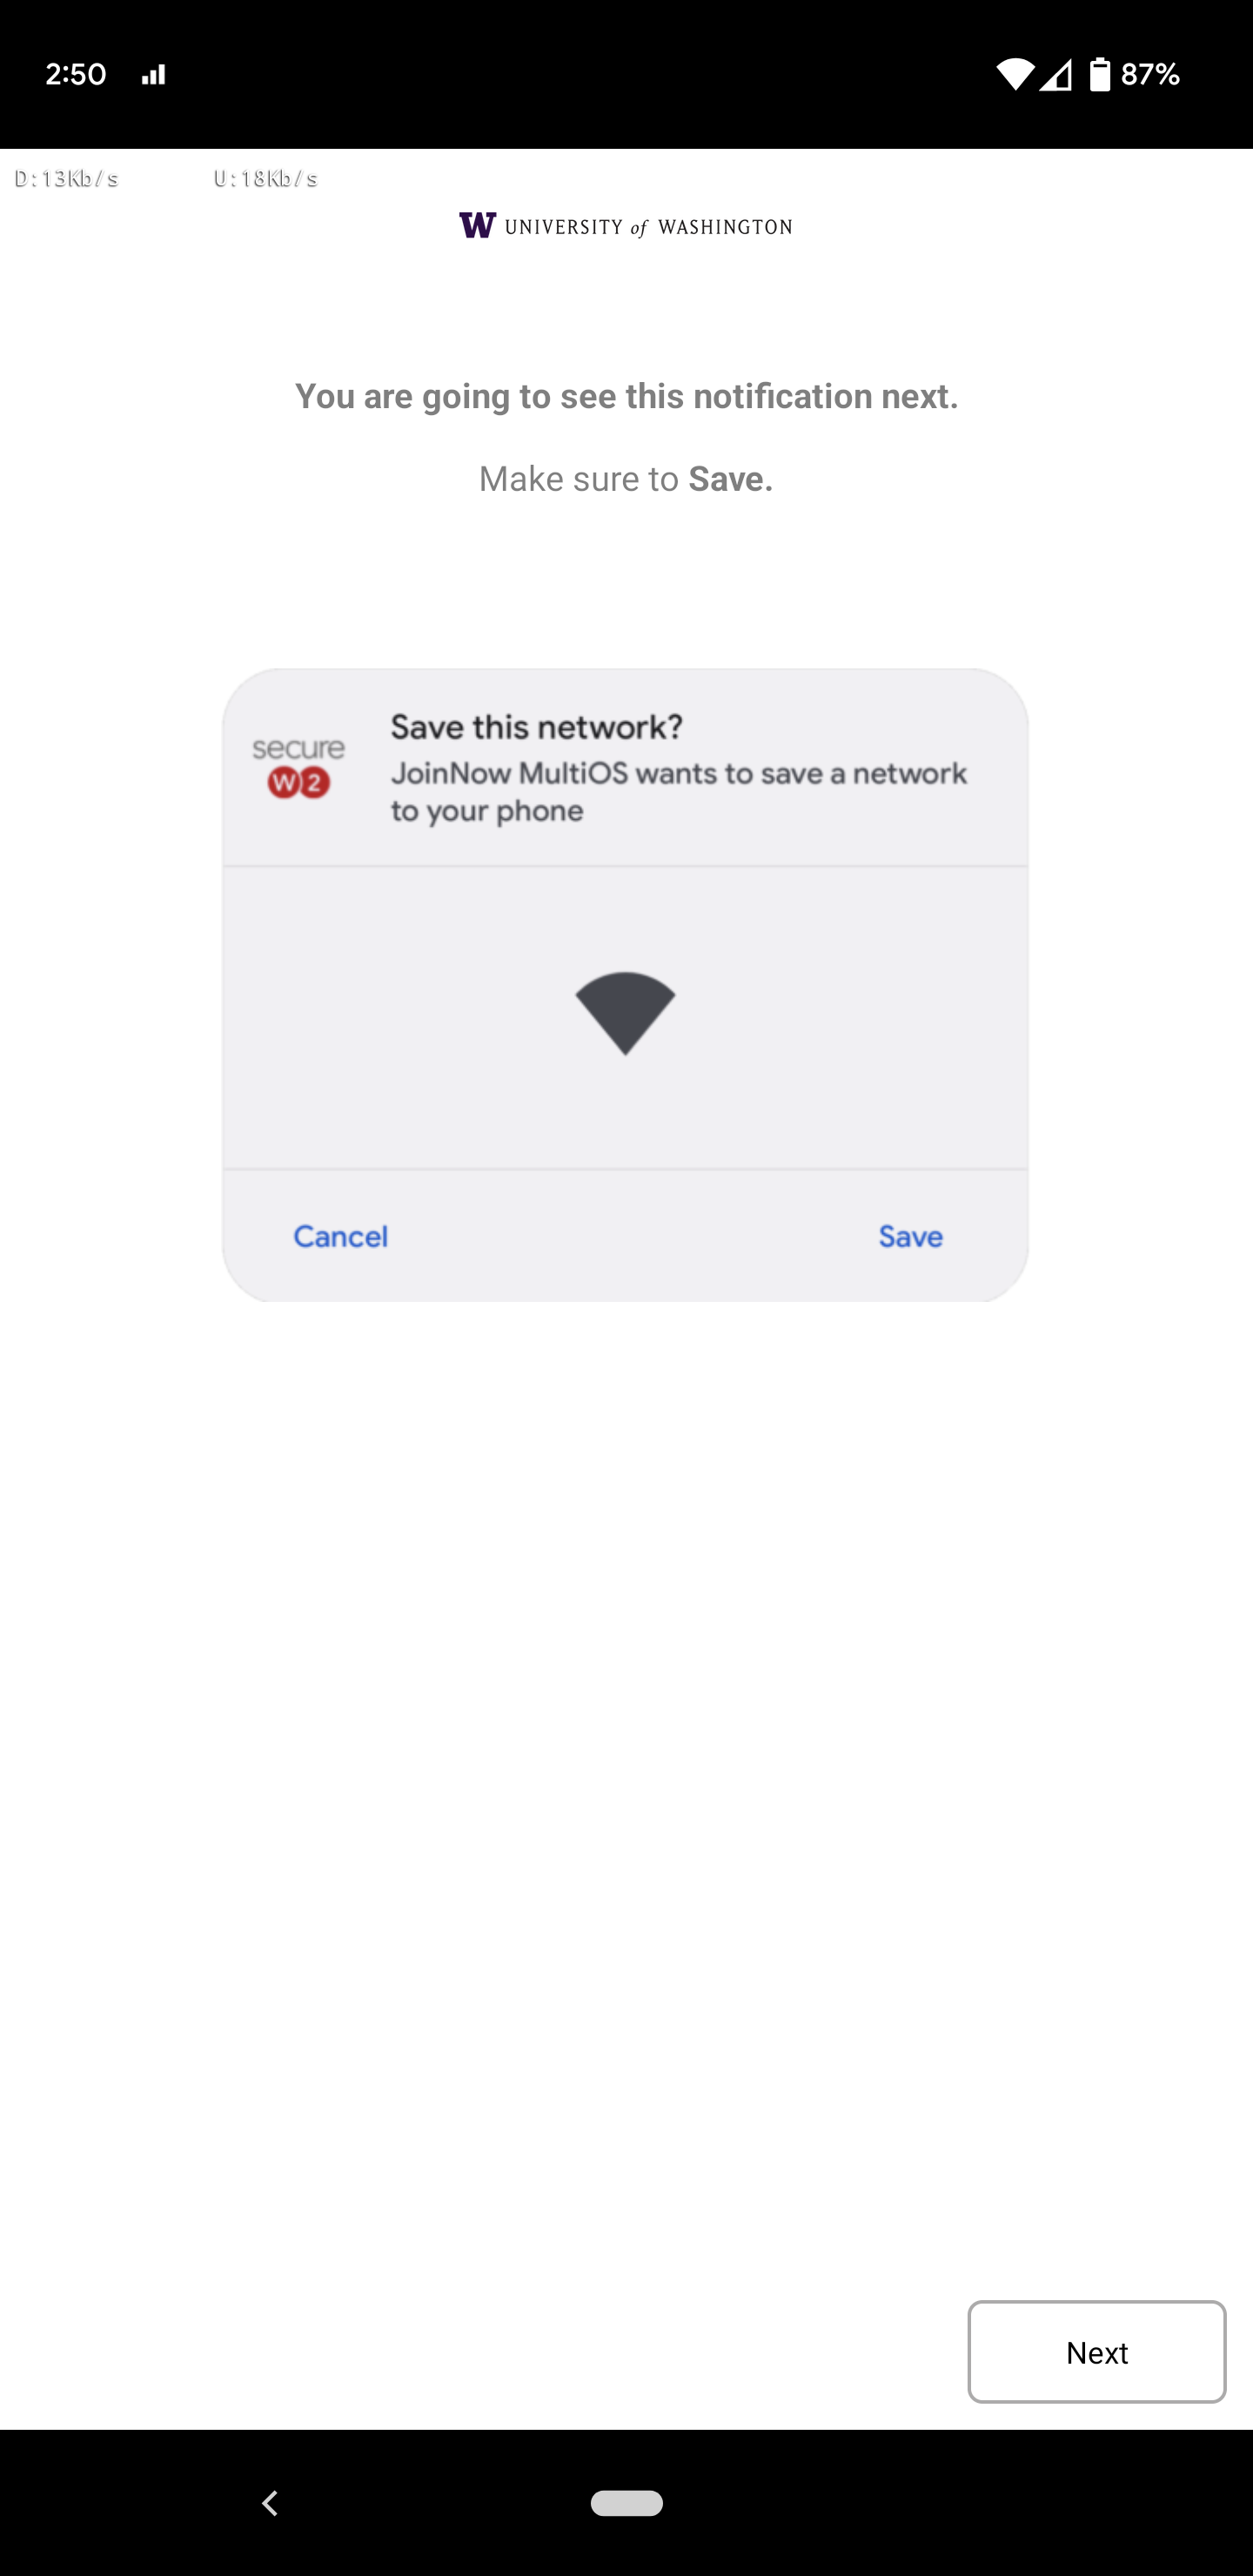
- Tap "Next".
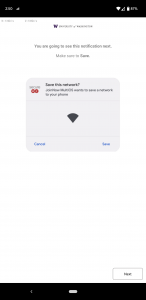
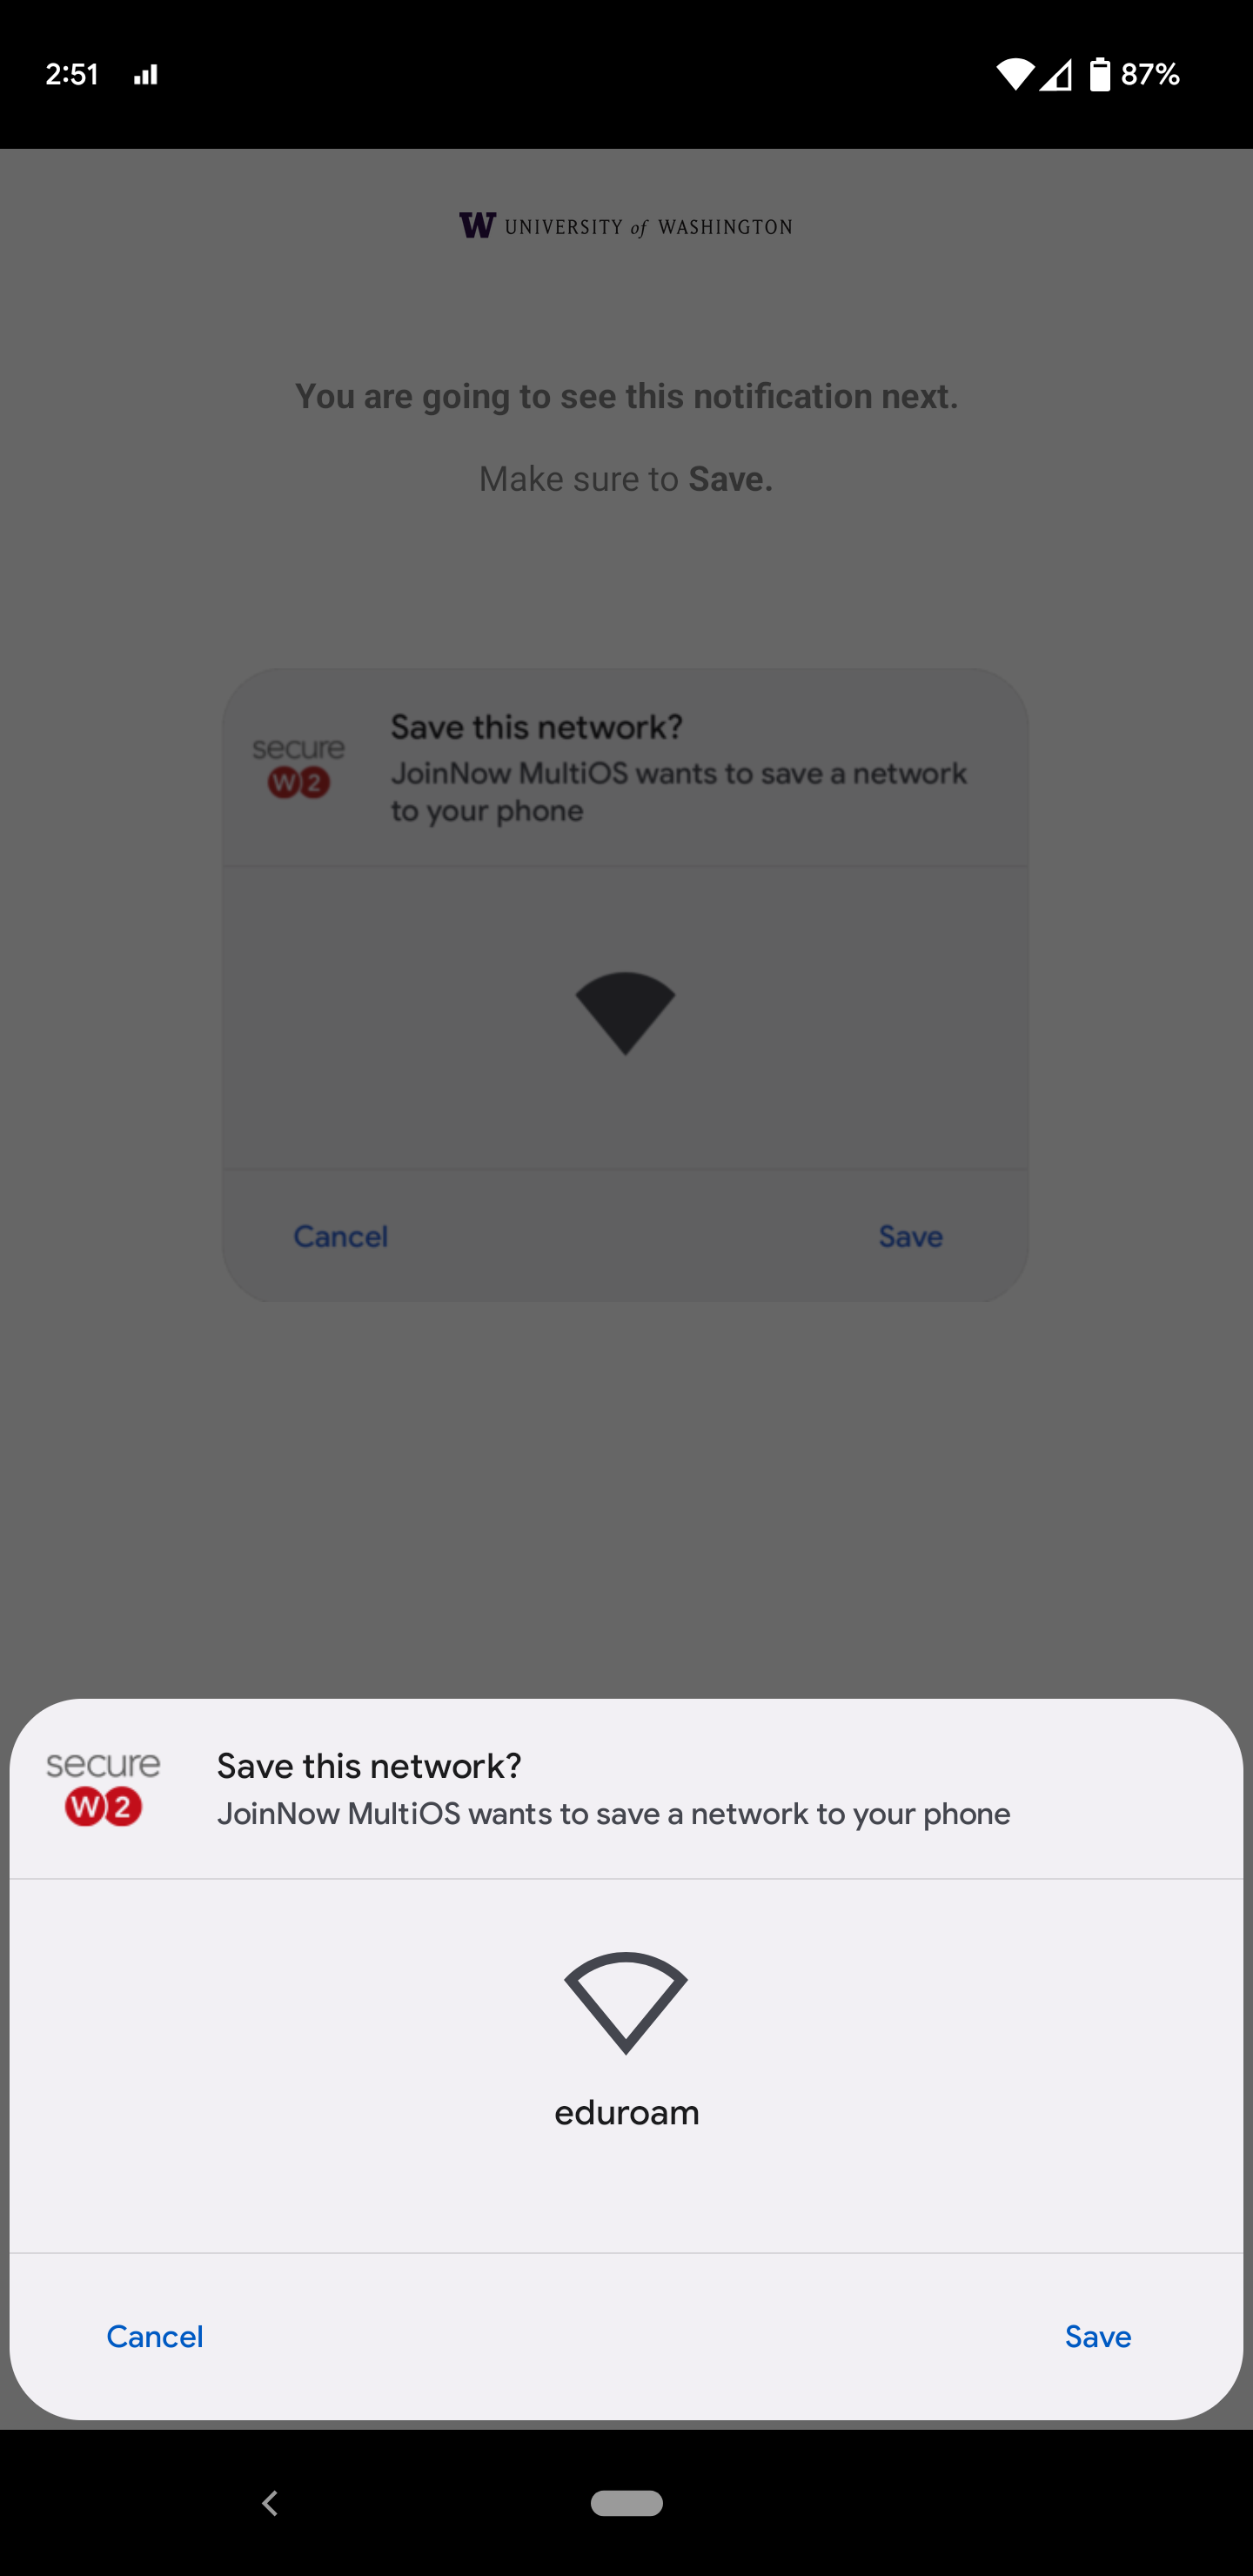
- Tap "Save".
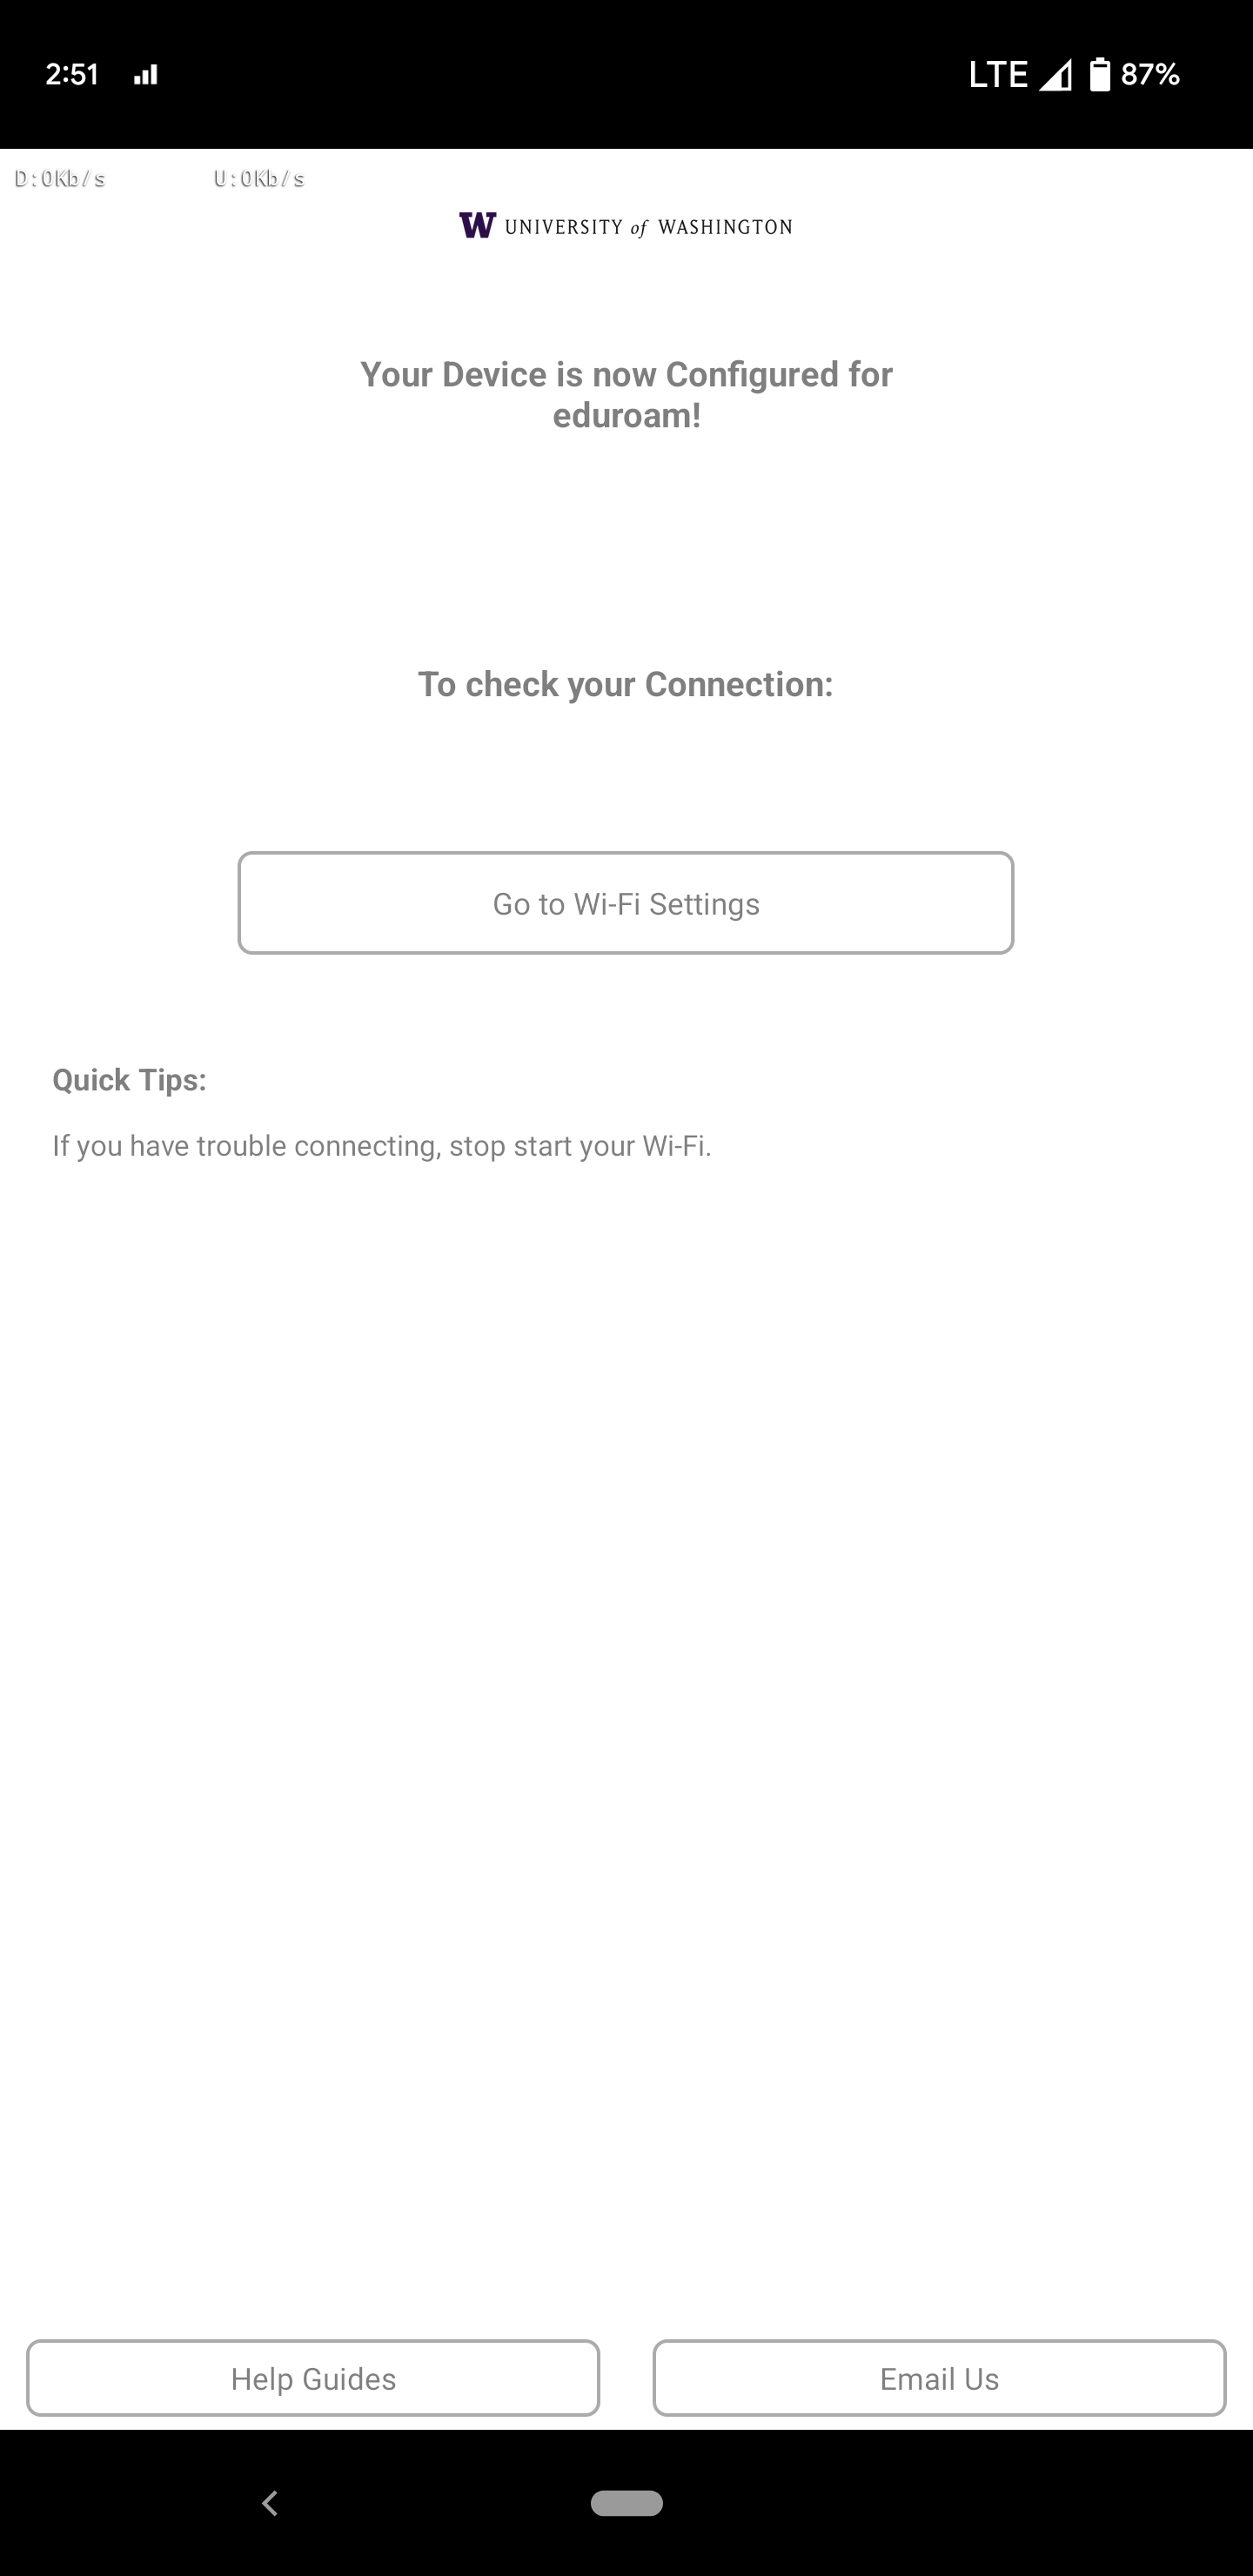
- Once setup completes, you can uninstall the SecureW2 JoinNow software. As of Android 12, this will no longer remove your eduroam profile.
- When your device is in range of an eduroam network it will automatically associate.

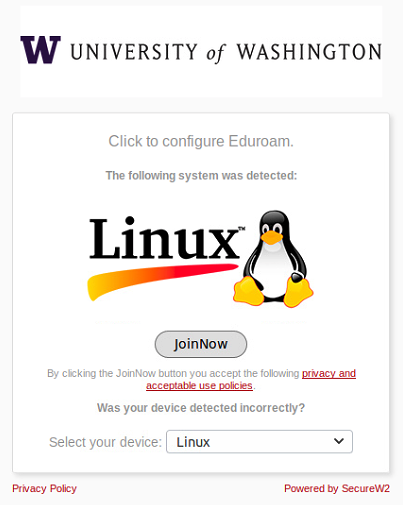
- Open your web browser and navigate to http://onboard.wifi.uw.edu.
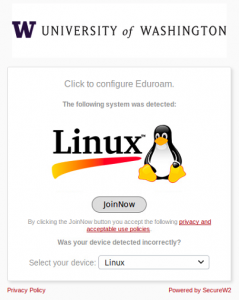
- Click the "JoinNow" button to begin the onboard script download.
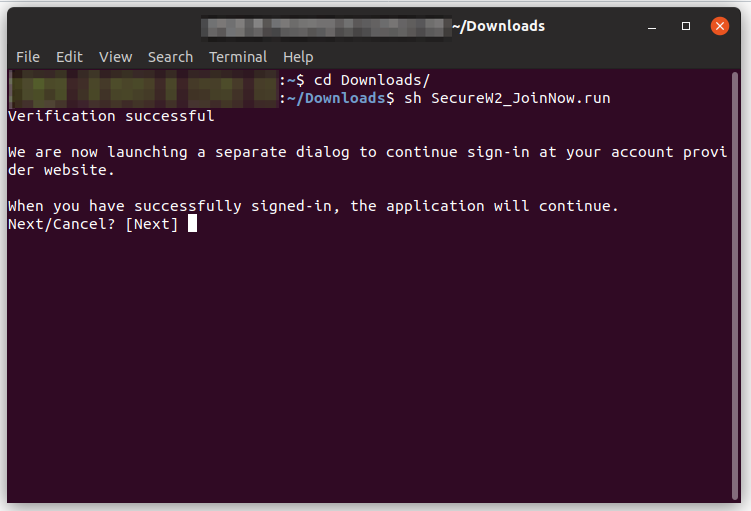
- Open a terminal window. Assuming your download location is in your Home directory, run the following commands.
cd Downloads/
sh SecureW2_JoinNow.run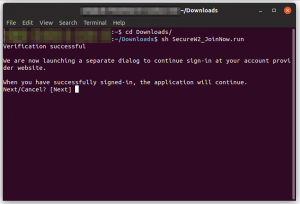
- Your web browser will open. Enter your UW NetID and password then click "Sign in".
- Your terminal window will come back in to focus. Close the terminal window.
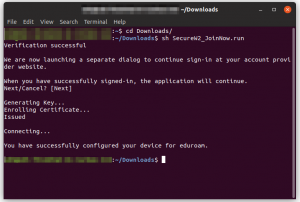
- Once setup completes you can delete the "SecureW2_JoinNow.run" file. When your device is in range of an eduroam network it will automatically associate.